

How to Use Grout Sealer Like the Professionals
Are you working on a home improvement project that requires grout sealer? If so, take a look at this guide so you can finish the job like a professional.
If your next home improvement idea involves adding a new tile feature to your home, you need to know how to seal the grout. Sealing the grout will make your DIY projects look like they were done by a pro.
Grout is the cement-like substance used to fill in the joints between tiles. Like cement, grout has a porous surface and absorbs oils and grease. Eventually, unsealed grout will become permanently discolored.
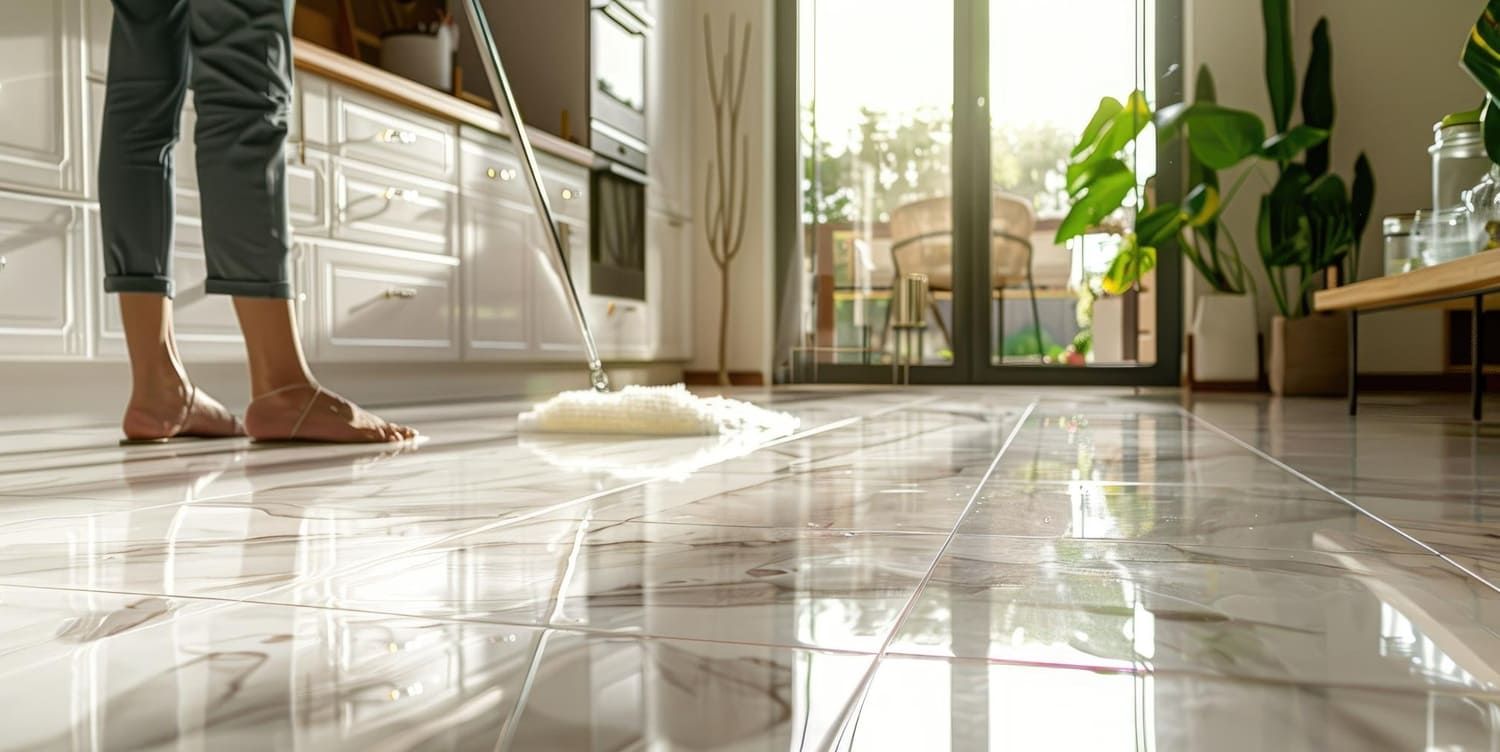
Sealing the grout makes cleaning your tile surfaces a breeze. A damp cloth and a multi-surface cleaner are all you need.
Let's look at how you can use grout sealer on your tiles to keep them looking fresh for years to come!
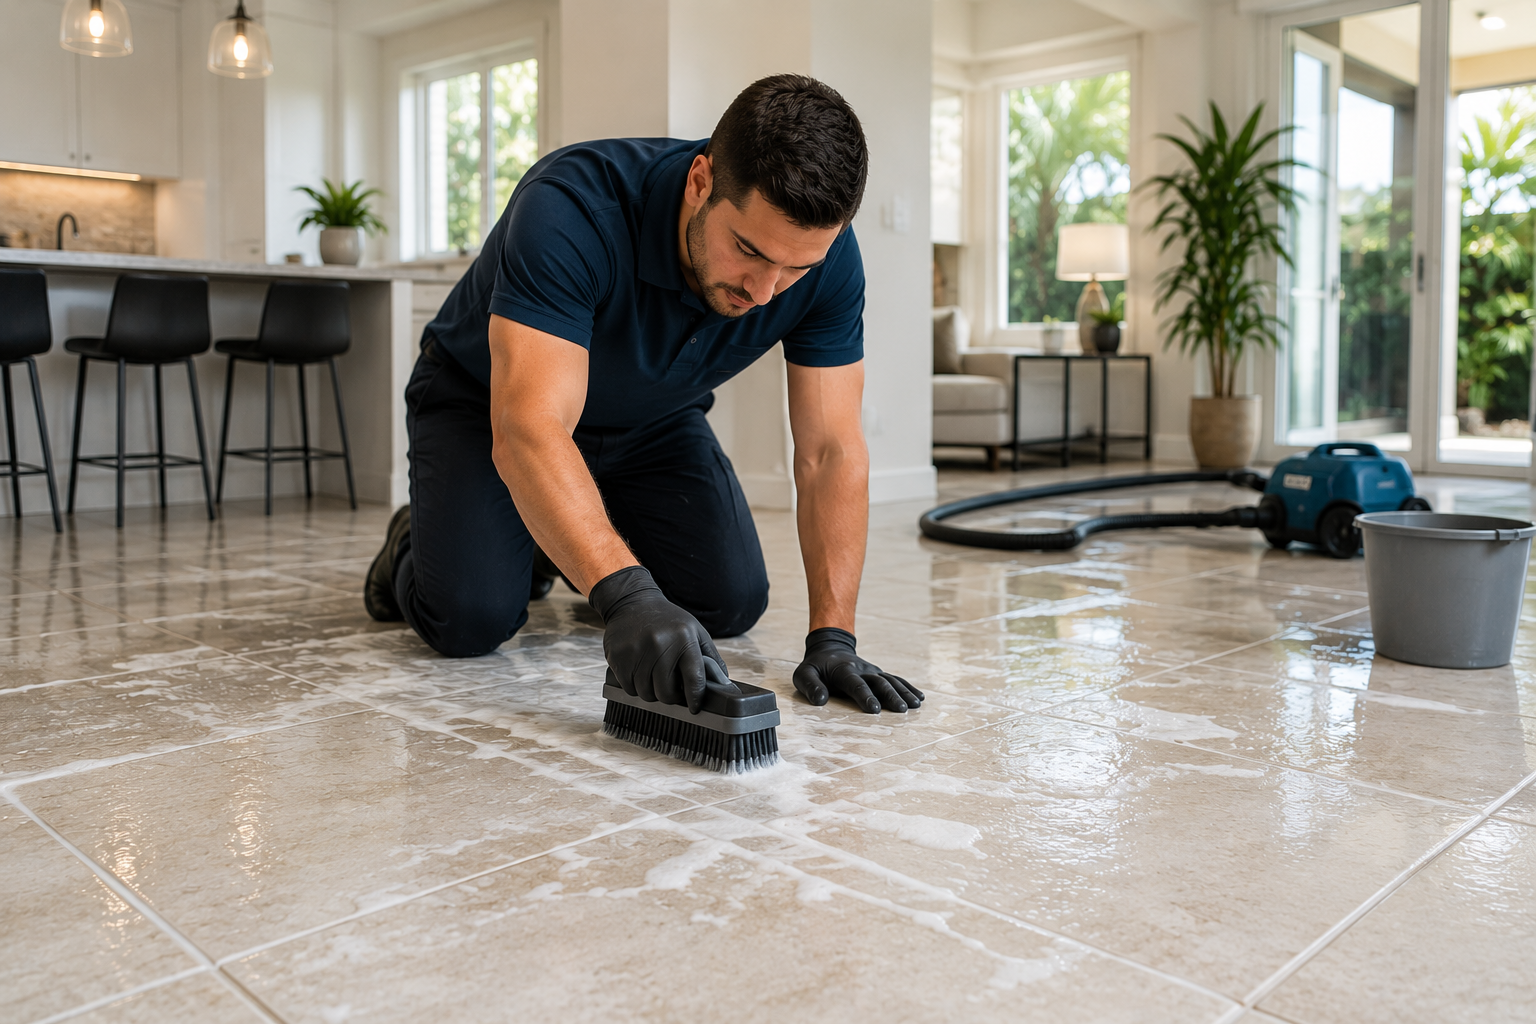
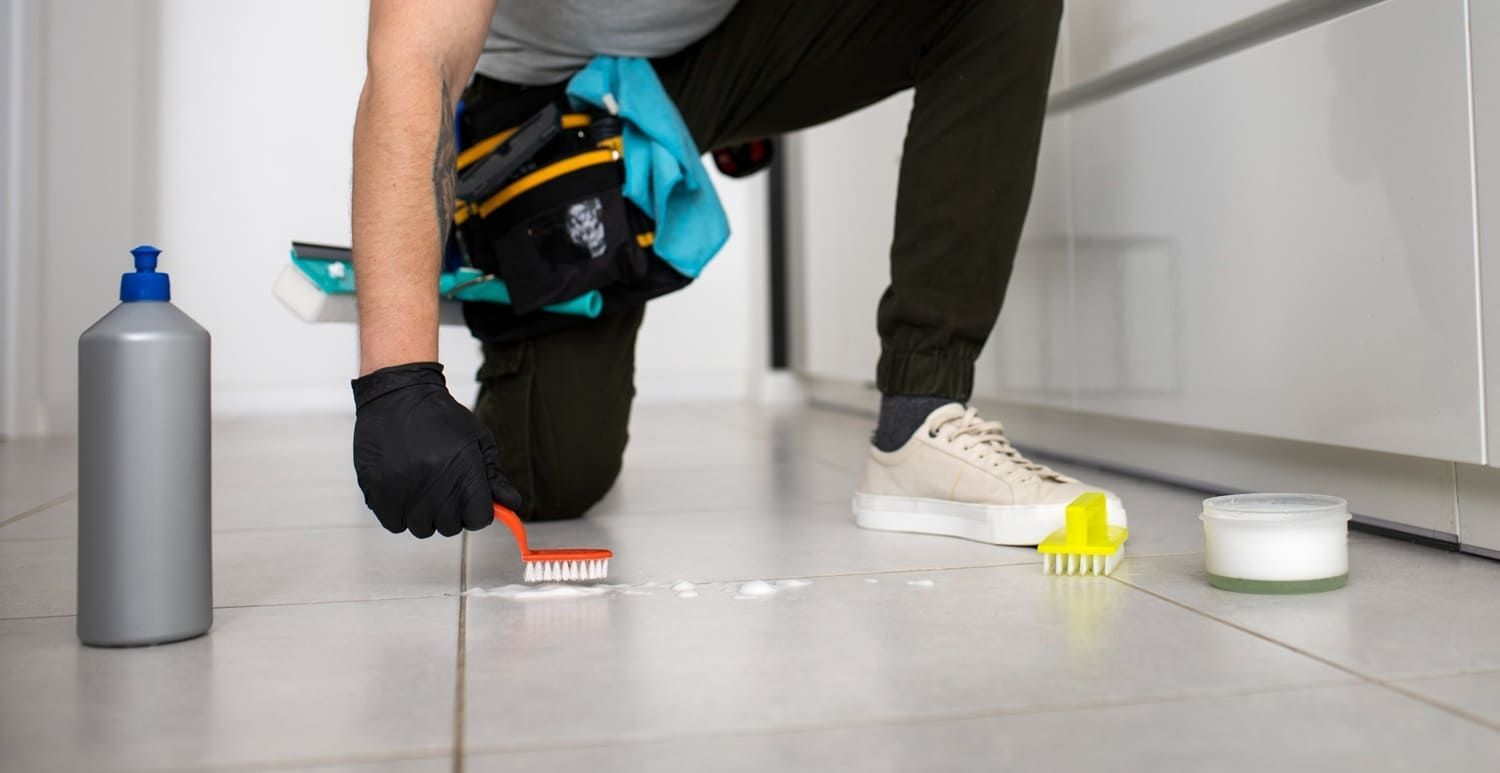
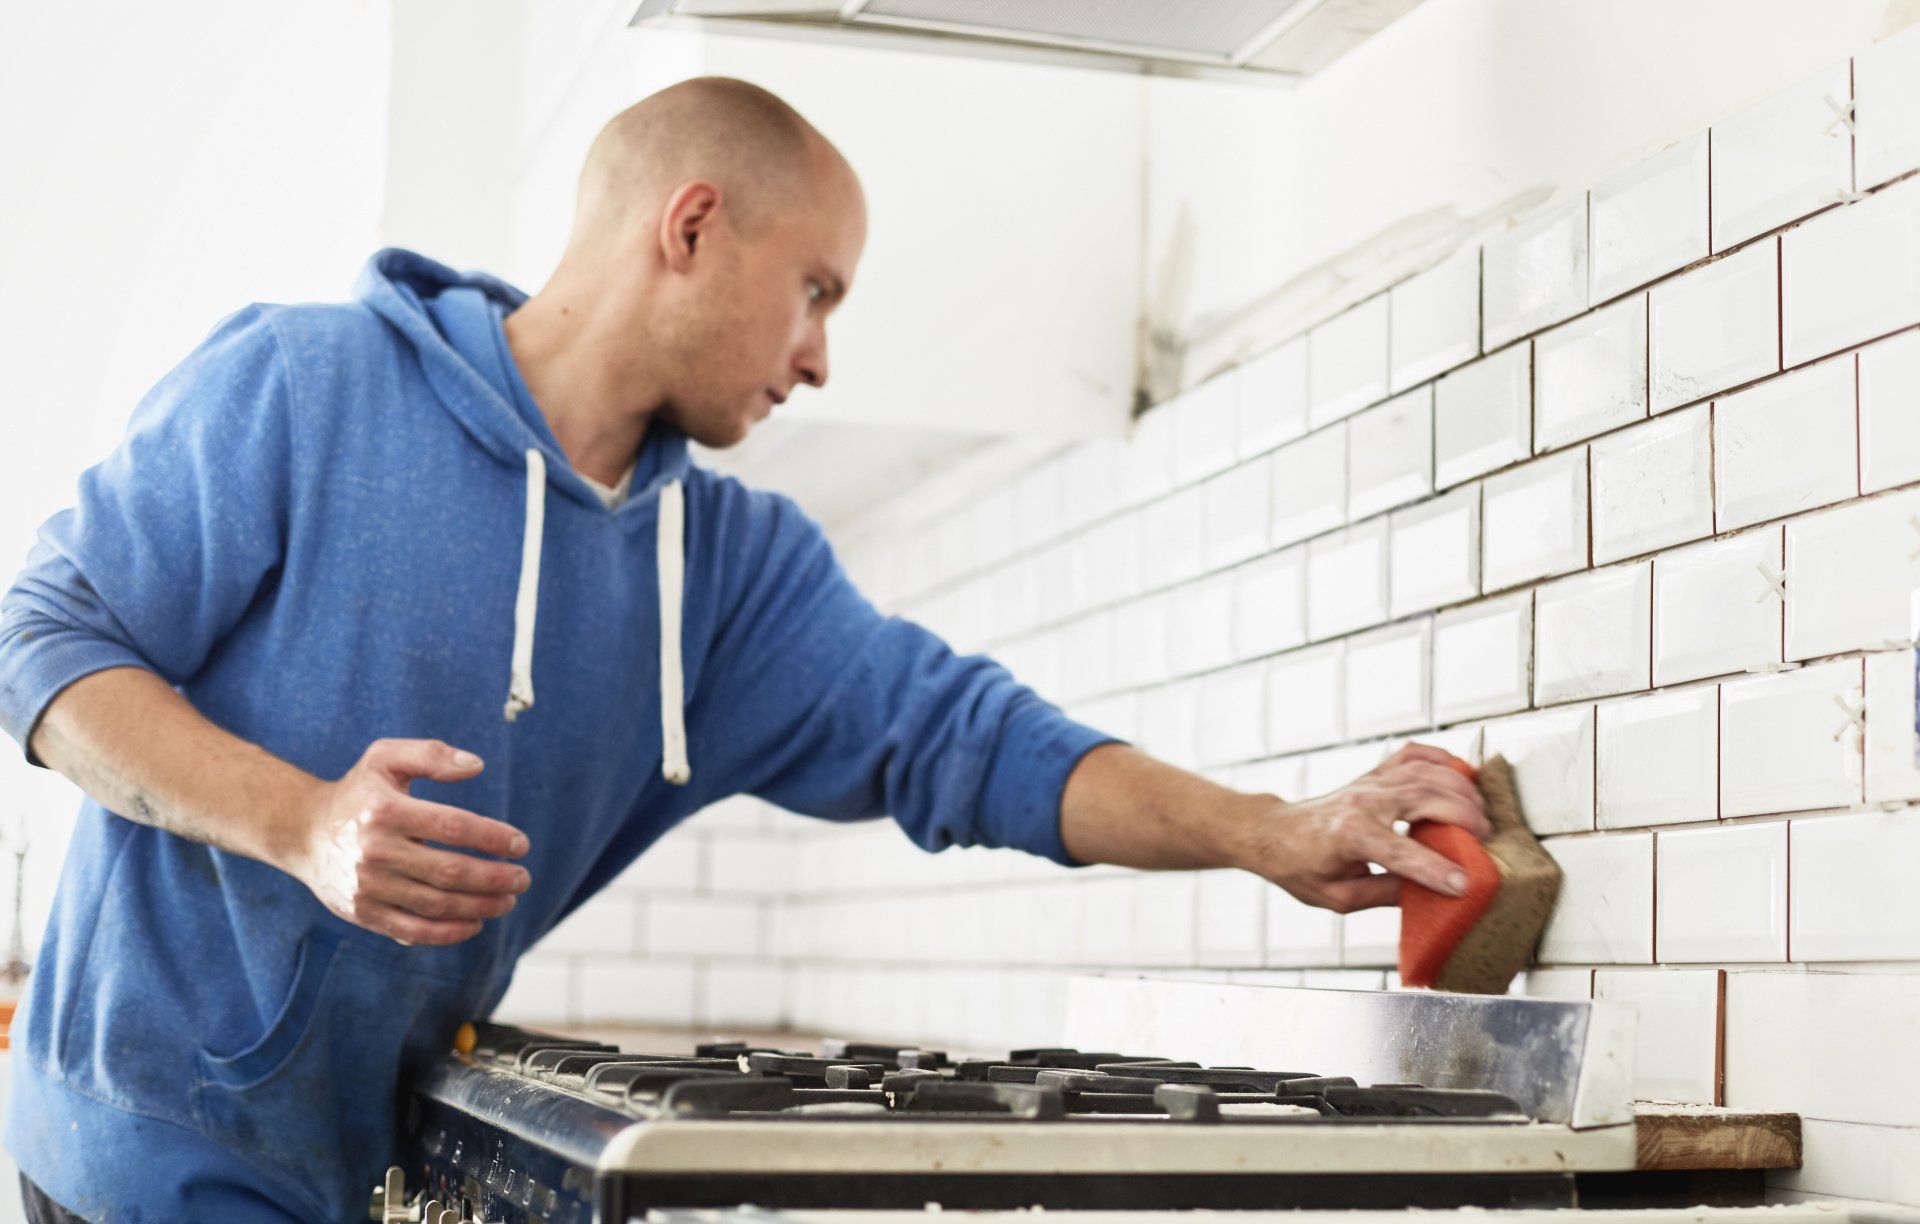
Step 1: Prepare the Grout
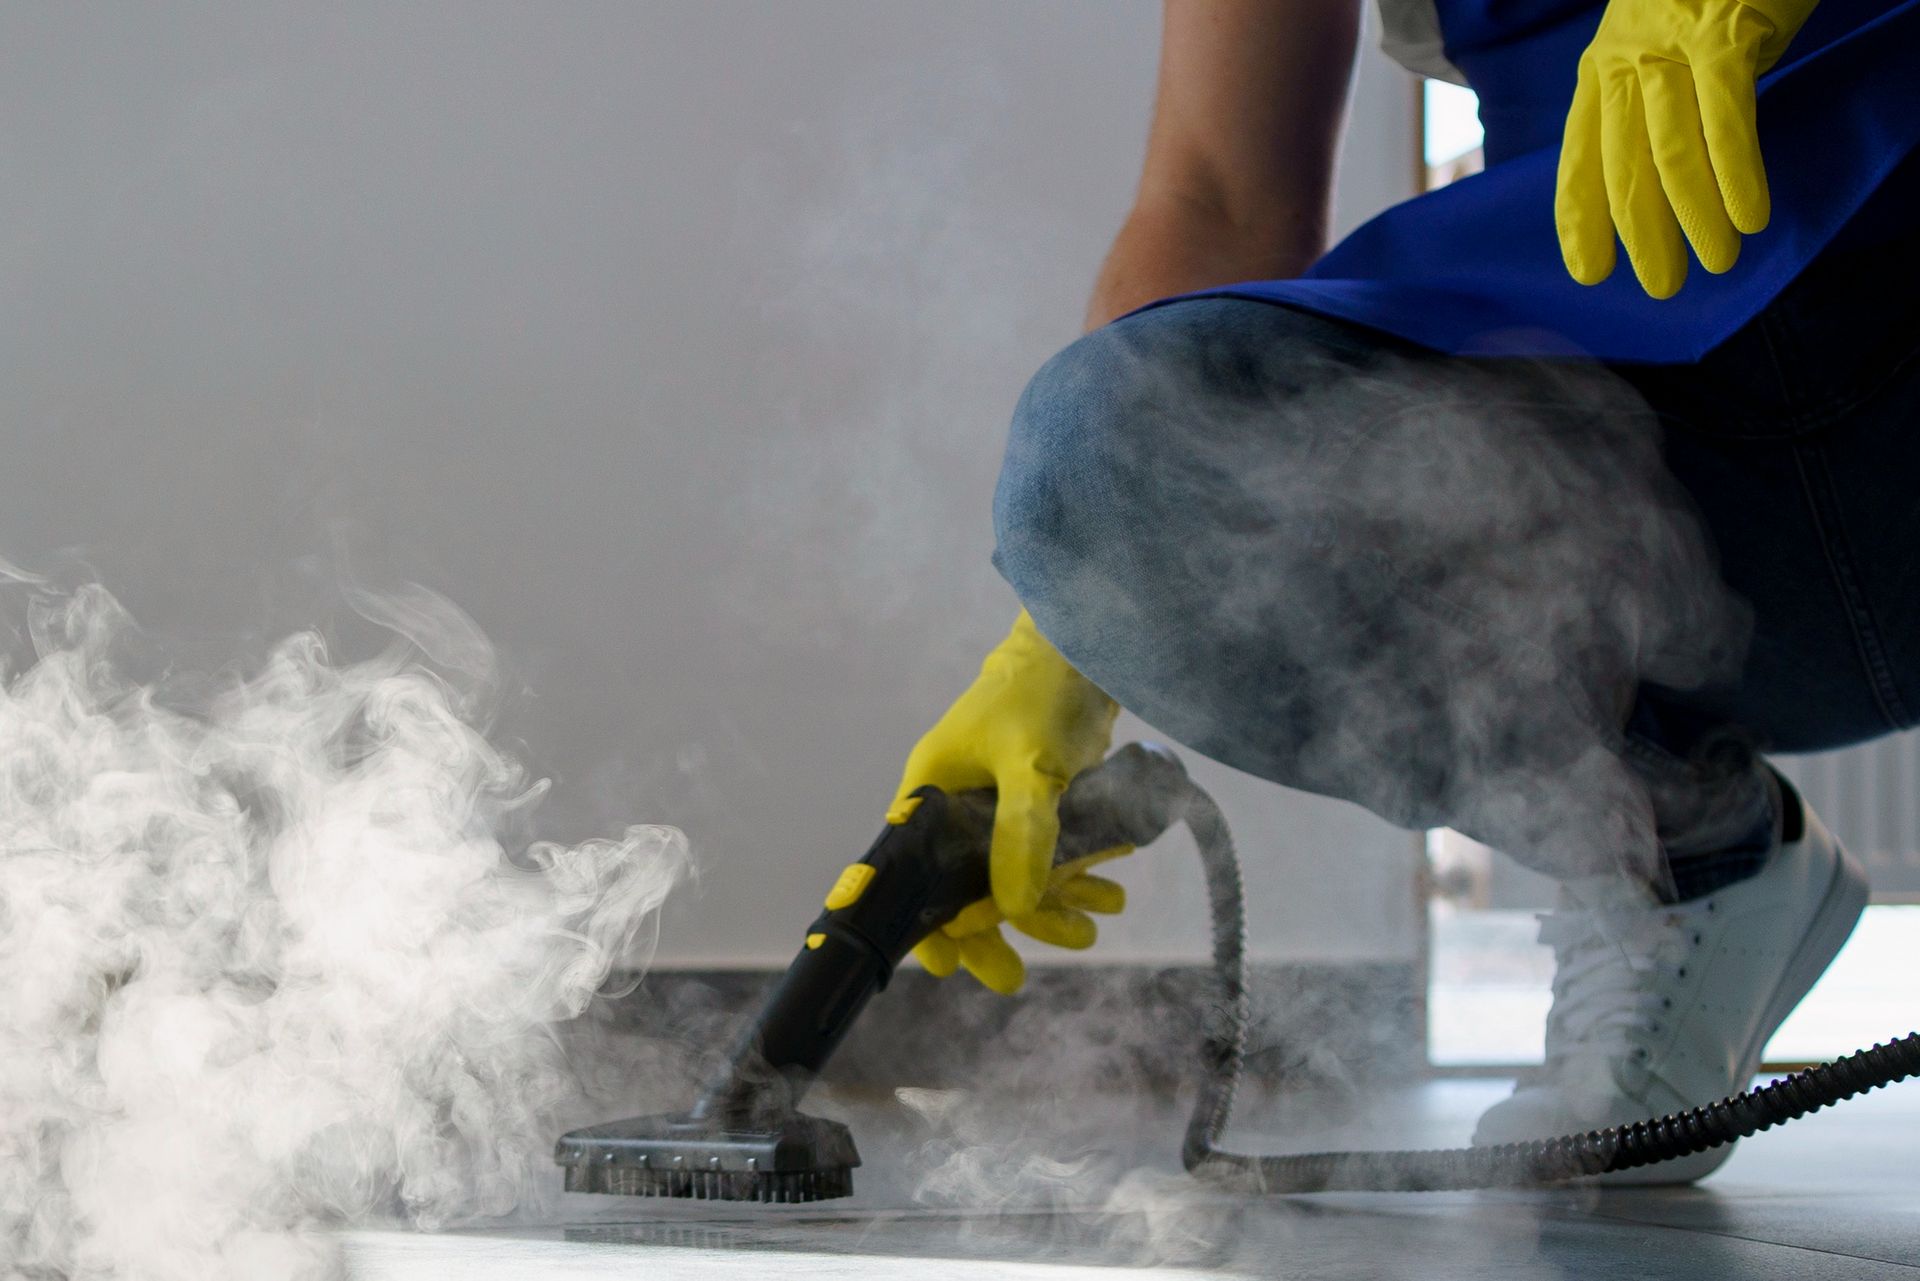
Before doing anything, thoroughly clean the grout. If the grout has been left unsealed for a long time, don't get discouraged if you can't get the grout to look brand-new again. After a while, unsealed grout becomes impossible to get perfectly clean.
Use a gentle household cleaner and a small, stiff brush. Scrub vigorously, enough to remove any dirt or grime. You want to create a smooth, clean surface for the sealer to hold on to. The key thing is to remove as much grease or oily residue as possible, along with and visible dust and dirt, so the grout will form a strong, smooth bond with the sealer.
This is also the time to fix grout cracks or chips. You may have to pick up a bit of extra grout to fill in any damaged portions of the grout.
If you are laying down brand-new grout, make sure it has completely cured before sealing. It may be dry to the touch, but that doesn't mean it has fully cured. You must wait 36-72 hours before the grout is ready to be sealed. Check with the manufacturer of your grout for the proper cure time.
Step 2: Choose the Right Grout Sealer
You need to make sure you are using the right sealer for your project. There are two main types of sealer to choose from, each with its own pros and cons.
Film-Forming Sealer
Also known as membrane sealer, this substance forms a protective coating on top of your grout. It's great for enhancing the aesthetic of your surfaces, as they can add a glossy or matte finish. Some even come in different colors.
The protective layer prevents oils, grease, and other residues from staining the grout. Its non-porous surface also makes clean-up nice and easy.
The main drawback here is that water can get under this protective membrane. The water gets stuck and is unable to evaporate, which can form mildew. For this reason, a film-forming sealer is not recommended for high-moisture areas like showers.
Penetrating Sealer
This product gets its name from the ability to penetrate into non-porous surfaces like cement and grout.
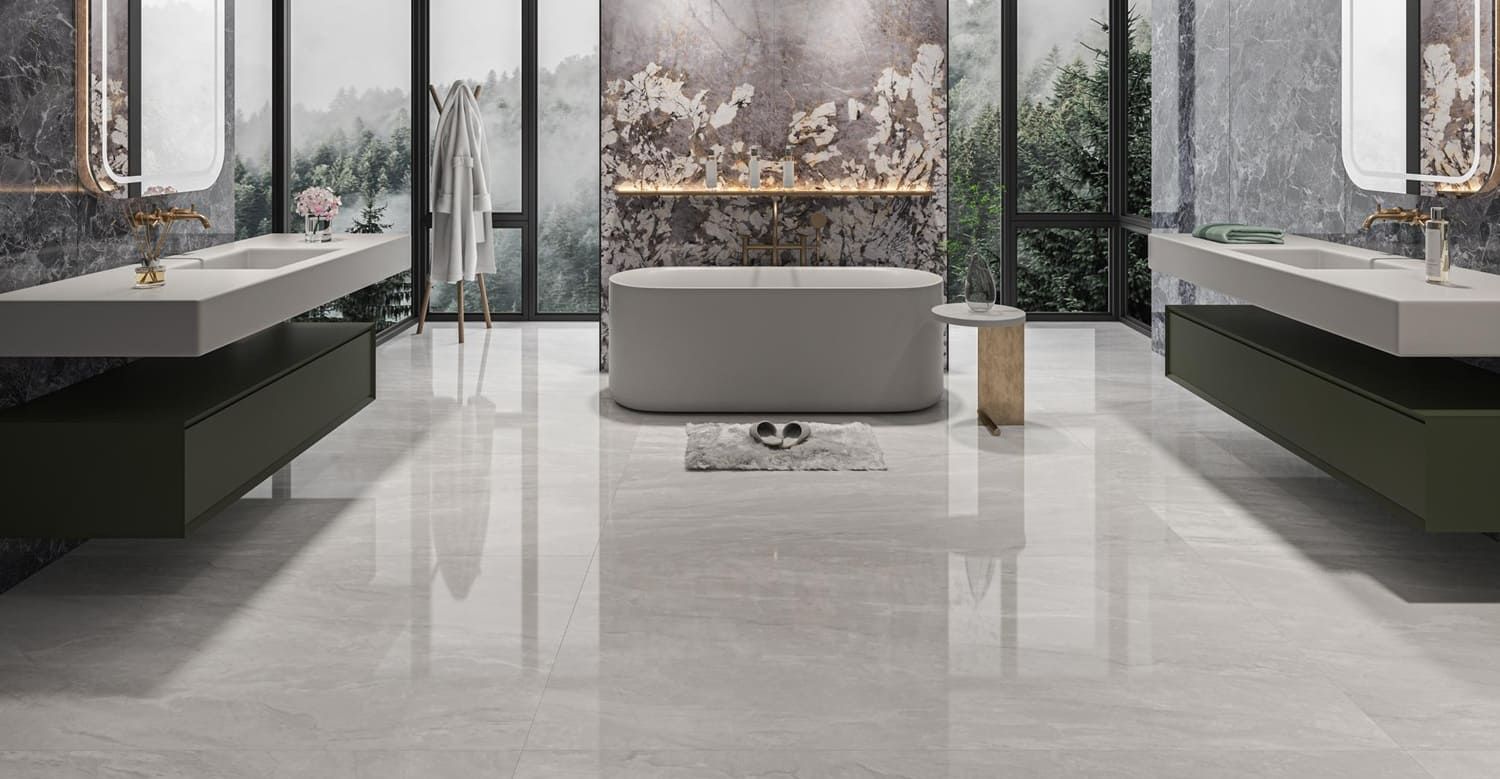
Once dry, this sealer forms a hydrophobic layer that will keep out almost all moisture. This makes it the perfect choice for bathroom projects.
The only con with penetrating sealer is that it doesn't change the appearance of your grout. The protective layer is all but invisible after it has been absorbed into the grout. Penetrating sealer won't contribute to your interior design, but it will keep your tiles looking fresh.
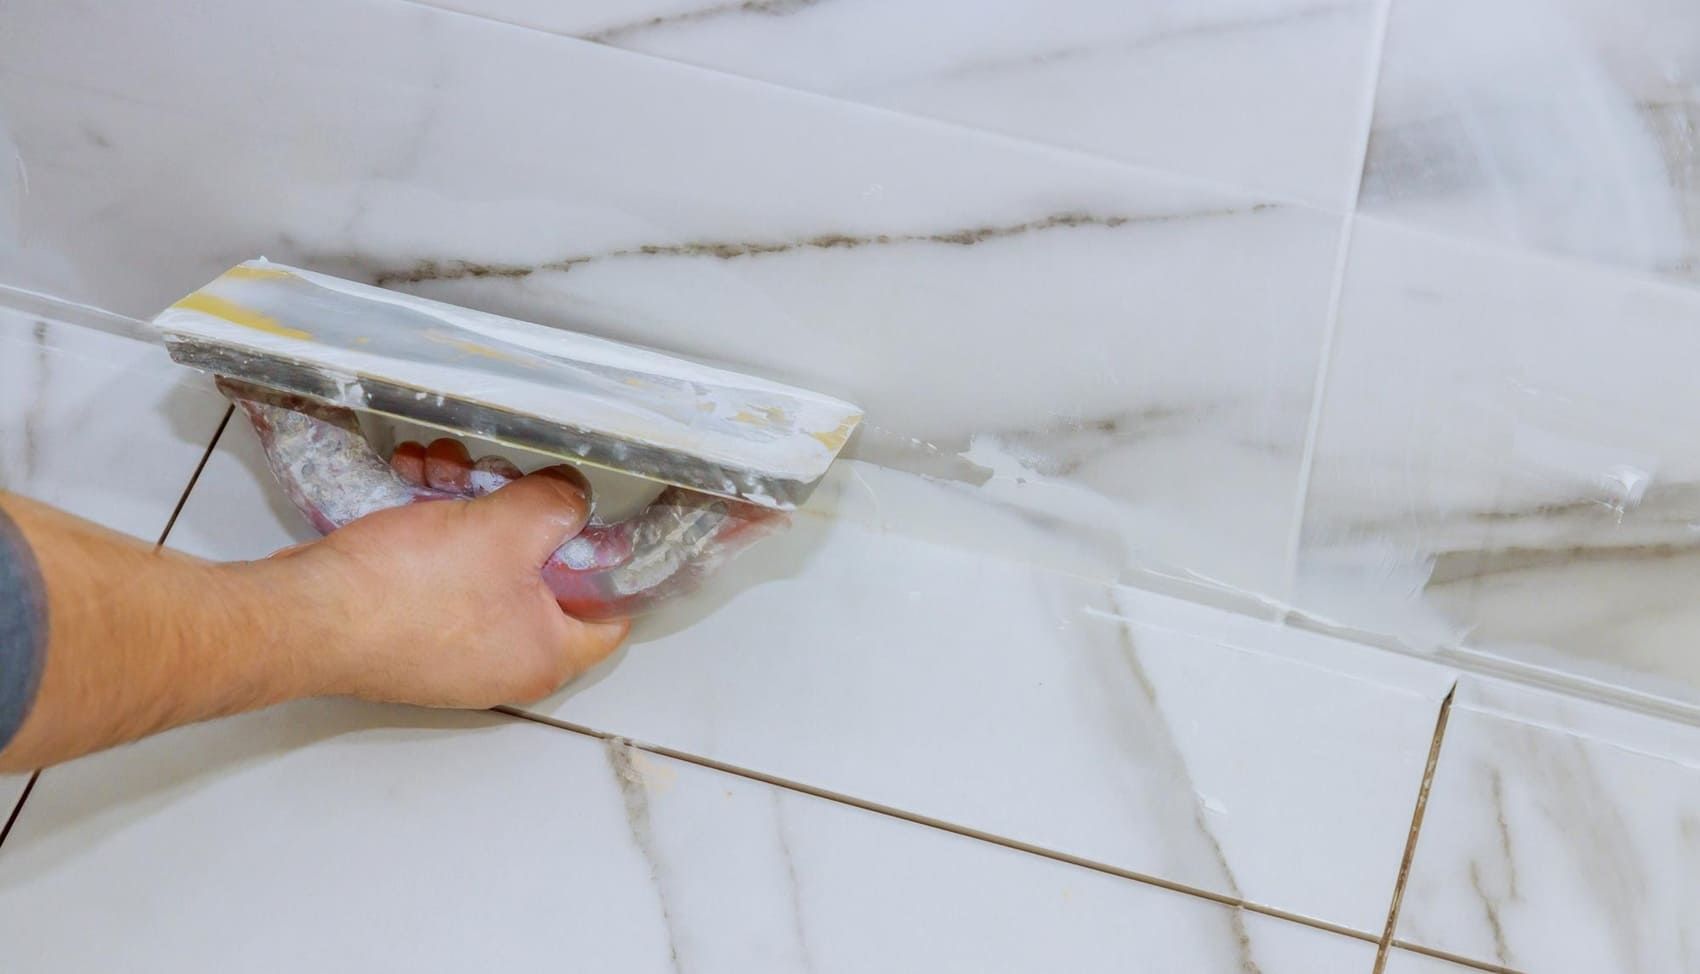
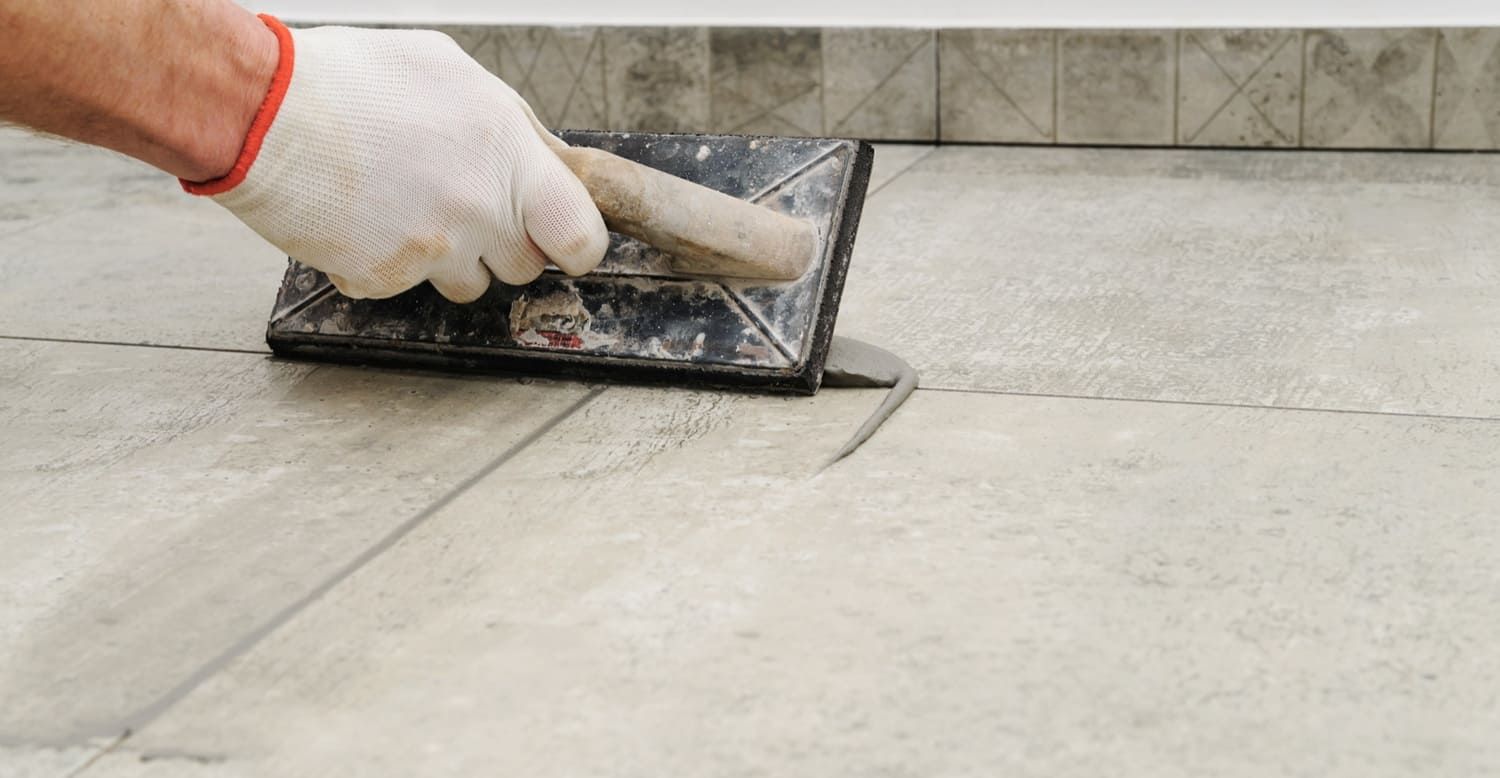
Step 3: Sealer Application
Once your grout has been prepared and you've chosen the right sealer, you're ready to start sealing your grout.
Make sure you have chosen to apply your sealer on a cool day, out of direct sunlight. You don't want the sealer to dry before you are finished working. If you must work on a hot day, start early in the morning or in the evening.
This process should be done with care. A sealer will begin to dry in about five minutes after being applied. After five minutes, it becomes much harder to remove.
Accidental splotches of sealer will result in a foggy film that is difficult to remove. Keep a clean, dry rag handy to wipe off excess sealer as you go.
You can use a sponge brush to apply sealer. You can also purchase miniature paint rollers, which are perfect for laying down sealer in the tight spaces between tiles.
Some sealers also come in aerosol spray cans, making application quick and easy.
Once you have finished applying the first coat, wait about fifteen minutes for the sealer to dry. Use paper towels to wipe off any extra sealer.
You may need two or three coats to get an effective seal. To test the seal strength, sprinkle some water on the dried sealer. If it beads up, the seal is complete. If not, add another coat.
Step 4: Check Your Work and Be Patient
Once you have applied your final coat of sealer, do your final pass with the paper towels to ensure you haven't left behind any extra spots. Check from different angles. Sometimes changing your perspective can help you catch an unnoticed blob of sealer.
Once you are satisfied with your work, don't step on any of the tiles for the next three hours. If you do, dirt from your shoes or even from the pressure of your feet could create imperfections in the surface of your grout.
Sealers can take 24 to 48 hours to completely cure. Don't use the freshly sealed surfaces at all, if possible, during that time. It may be inconvenient for a few days, but it will pay off later. Even a small bump in the sealer can turn into a dirt magnet, while a smooth seal is super easy to clean.
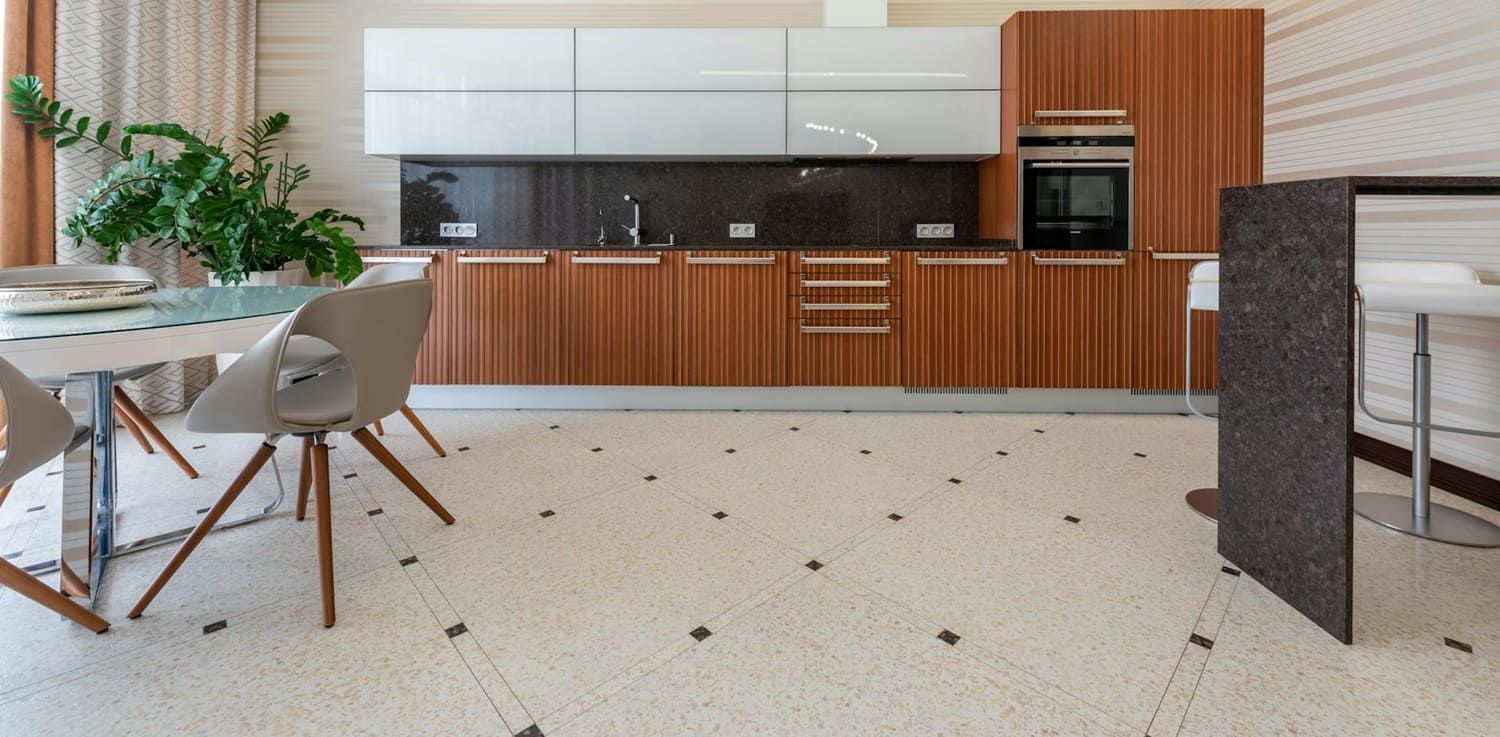
Enjoy Your New Tiles
Using grout sealer on your tiles in your kitchen or bathroom is guaranteed to brighten up your space and make them easier to clean.
It takes a lot of patience and preparation to get your tiles looking perfect. But you will know it was all worth it the next time you clean your tiles and the dirt wipes of with no scrubbing or hassle.
That said, even the best-protected tiles will eventually need cleaning. To keep your tiles looking their best, check out our guide from ADVANCED Sealers and Cleaners to find the best tile cleaner.