

What You Should Know Before Sealing Any Surface
Understanding the science behind sealing can make a significant difference in the results of your project. It involves not just the application of a protective layer but an entire process of preparation, selection, and careful application. By delving into the intricacies of each step, you can avoid common pitfalls and ensure that your sealant performs optimally, offering peace of mind and satisfaction with the final outcome.
Understanding Surface Treatment
Surface treatment involves preparing a material to receive a sealant or finish. This process is vital to ensure the sealant adheres properly and provides the desired protection. Different surfaces require different preparation methods, and using the right one can significantly affect the outcome. Proper preparation can enhance the bonding capabilities of sealants, ensuring they adhere firmly and last longer. Failure to adequately treat the surface may lead to sealant failure, compromising the protective qualities you aim to achieve.
Surface treatment is not a one-size-fits-all solution. Different materials such as wood, metal, glass, and plastic require specific treatment methods to optimize sealant adhesion. For instance, wood surfaces may need sanding to smooth out imperfections, while metals might require de-greasing to eliminate oils and residues. Understanding these nuances will help you tailor your approach, ensuring that the sealant forms a strong, durable bond with the surface, providing long-lasting protection.
Why Surface Treatment Is Important
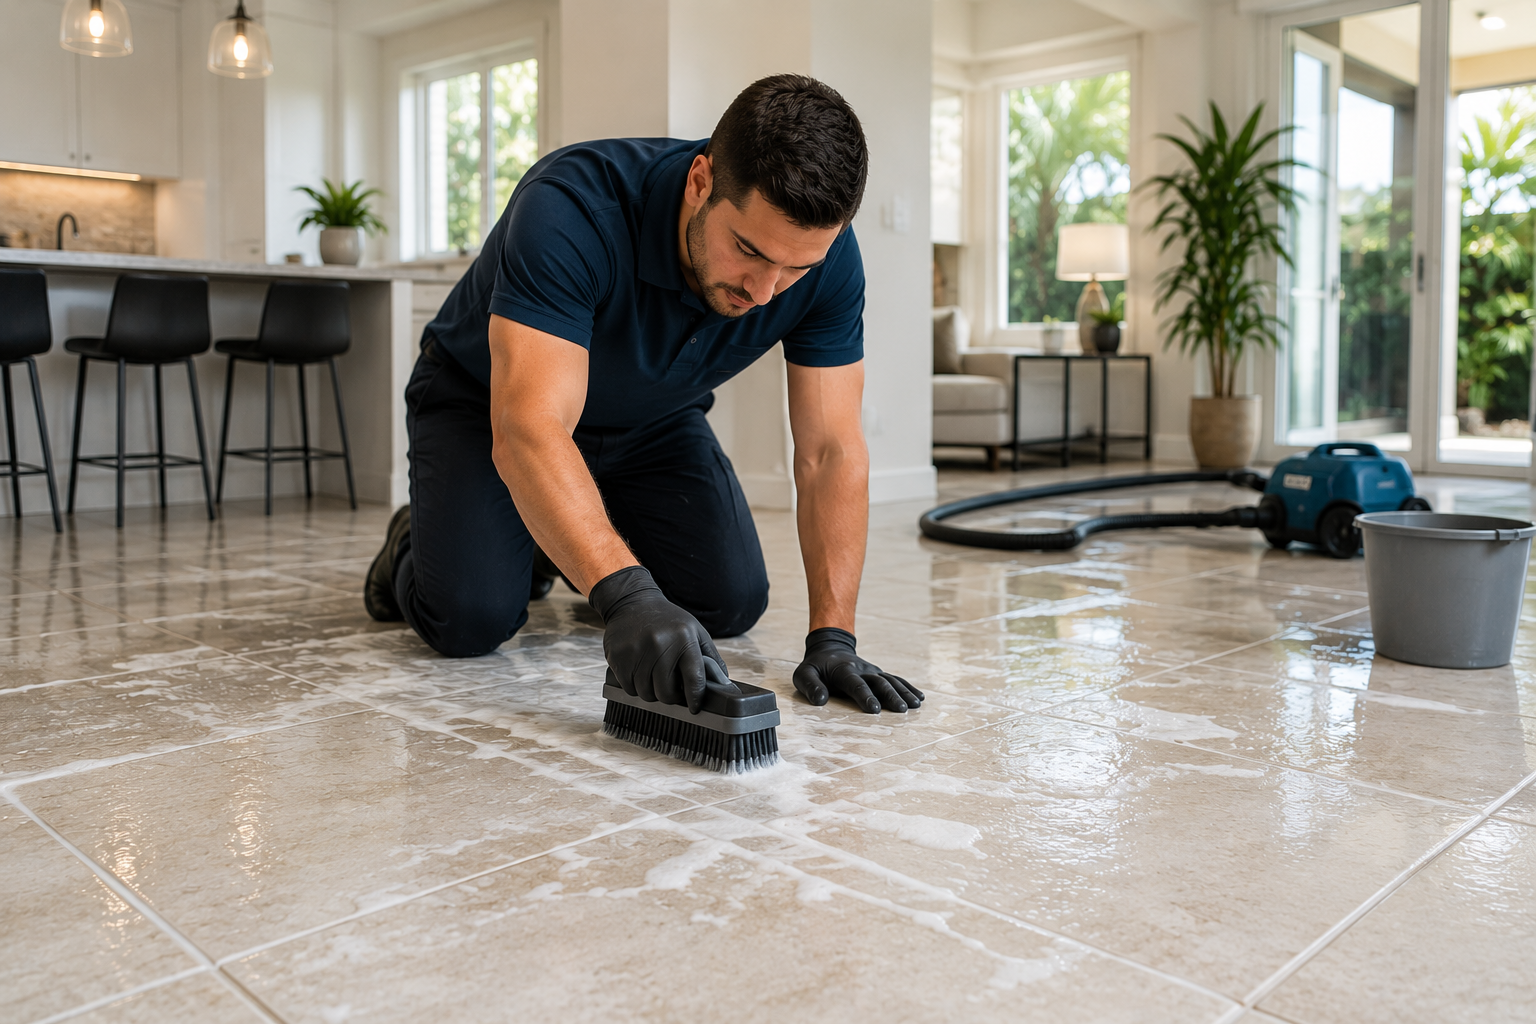
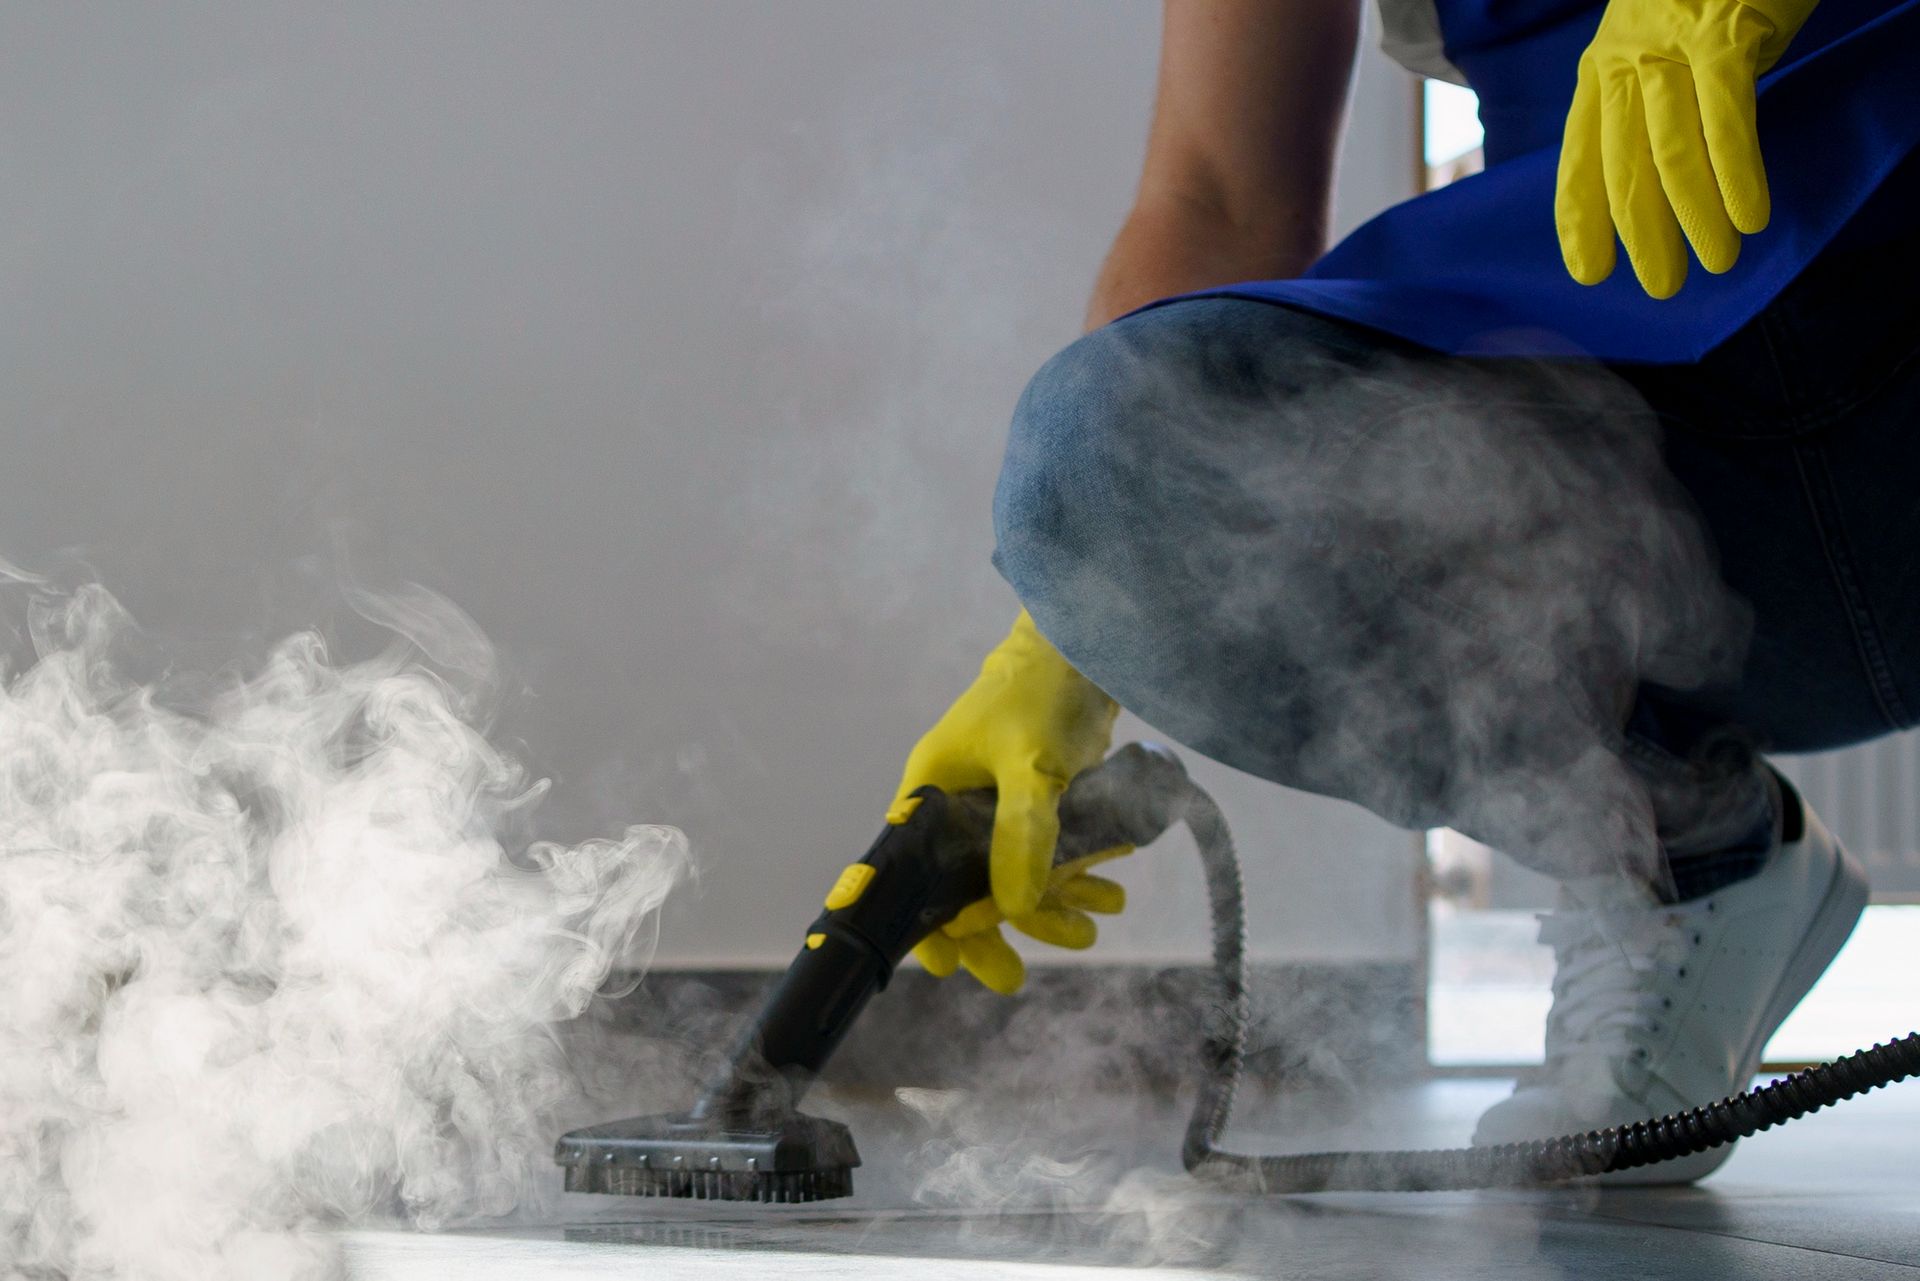
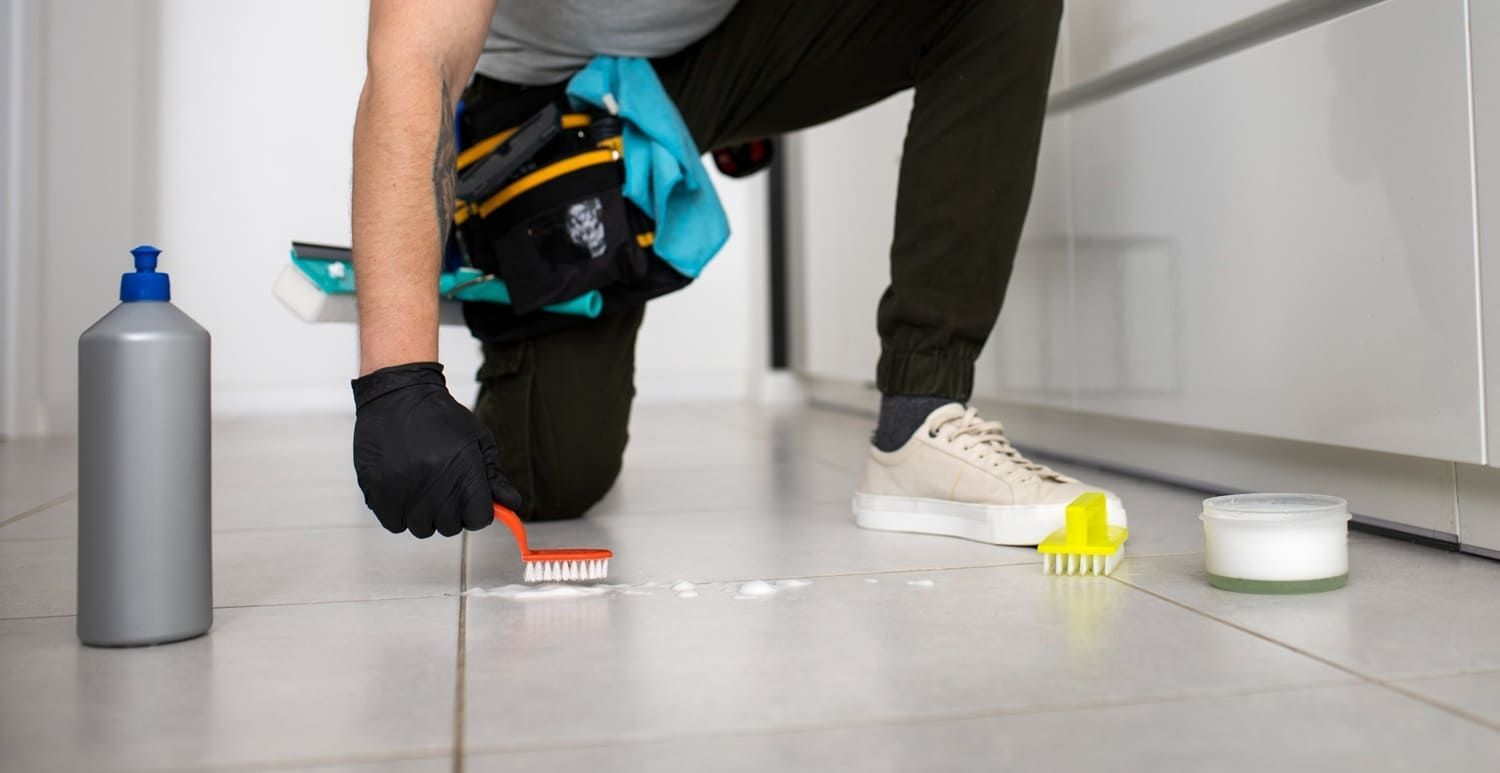
Proper surface treatment helps in removing dirt, grease, and other contaminants that can prevent sealants from sticking. It also ensures that the surface is smooth and ready for sealing, which enhances the longevity and effectiveness of the sealant. A well-prepared surface minimizes the risk of bubbles and gaps forming during application, which can lead to leaks or sealant degradation over time.
Moreover, surface treatment plays a crucial role in the aesthetic outcome of your sealing project. A smooth, clean surface allows for an even application, resulting in a more visually appealing finish. Additionally, by addressing any underlying issues such as cracks or rough spots before sealing, you prevent future problems that could compromise the seal. This proactive approach saves time and resources in the long run, ensuring a seamless and effective seal that meets your expectations.
Steps for Effective Surface Treatment
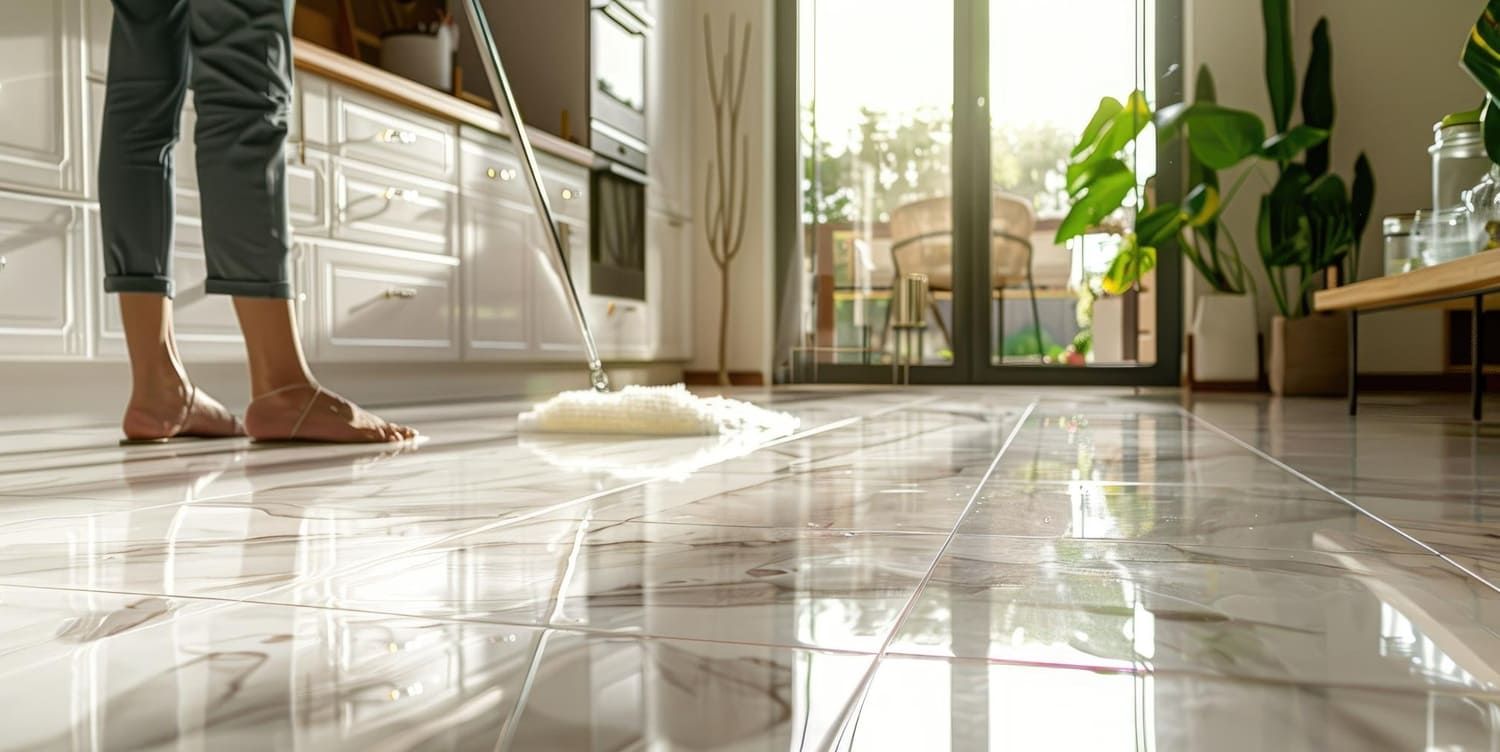
- Clean the Surface: Remove any dirt, dust, or grease using appropriate cleaning agents. This step is crucial for ensuring that the sealant adheres properly. A clean surface ensures that there are no barriers between the sealant and the material, allowing for a strong bond.
- Repair Any Damage: Check for cracks or damage on the surface and repair them before sealing. This ensures a smooth and even application of the sealant. Addressing these issues beforehand prevents them from worsening under the sealant, which could lead to more extensive repairs later.
- Sand the Surface: For surfaces like wood, sanding can create a smooth finish that helps the sealant bond better. Use the right grit of sandpaper for the material you're working with. Sanding removes any old finishes and evens out the surface, providing a fresh, clean slate for the sealant application.
- Dry the Surface: Make sure the surface is completely dry before applying any sealant. Moisture can prevent the sealant from adhering properly and can cause it to peel or crack over time. Ensuring the surface is dry prevents the sealant from trapping moisture, which can lead to mold and degradation.
Choosing the Right Sealant
Selecting the appropriate sealant is critical for achieving the desired protection and finish. Different sealants are formulated for different purposes, so understanding the options available can help you make an informed decision. The right sealant will provide an effective barrier against environmental factors, enhance the surface's appearance, and ensure long-term durability.
Choosing the wrong sealant, on the other hand, can lead to premature failure, necessitating costly repairs and reapplications. By considering factors such as material compatibility, environmental exposure, and the specific demands of your project, you can select a sealant that not only meets but exceeds your expectations, ensuring a successful outcome.
Common Types of Sealants
- Silicone Sealants: Known for their flexibility and water resistance, silicone sealants are ideal for bathrooms and kitchens. They adhere well to glass, metal, and ceramic surfaces. Their ability to withstand temperature fluctuations makes them a popular choice for areas exposed to moisture and heat.
- Acrylic Sealants: These are suitable for indoor projects and are easy to clean and paint over. Acrylic sealants are best for areas that require a less flexible seal. They are often used in gaps and joints where movement is minimal, providing a smooth, paintable surface once cured.
- Polyurethane Sealants: Offering strong adhesion and durability, polyurethane sealants are great for outdoor applications and surfaces exposed to heavy wear and tear. Their robust nature makes them ideal for sealing concrete, masonry, and other demanding surfaces.
- Epoxy Sealants: Known for their strong bonding and resistance to chemicals, epoxy sealants are ideal for industrial applications and surfaces that experience high stress. Their hard-setting nature makes them perfect for environments where strength and chemical resistance are paramount.
Factors to Consider When Choosing a Sealant
- Surface Type: Different materials require different sealants. Ensure that the sealant you choose is compatible with the surface you are working on. Using an incompatible sealant can lead to poor adhesion and a failed seal.
- Location: Consider whether the surface is indoors or outdoors, as this will affect the type of sealant needed. Outdoor applications require sealants that can withstand harsh weather conditions and UV exposure.
- Flexibility: Some areas require a flexible sealant to accommodate movement, while others need a rigid seal. Understanding the movement dynamics of the joint or surface will guide your choice of sealant, ensuring it performs effectively under stress.
- Exposure to Elements: If the surface is exposed to water, sunlight, or chemicals, choose a sealant that can withstand these conditions. Selecting a sealant with the appropriate resistance properties ensures it maintains its integrity over time.
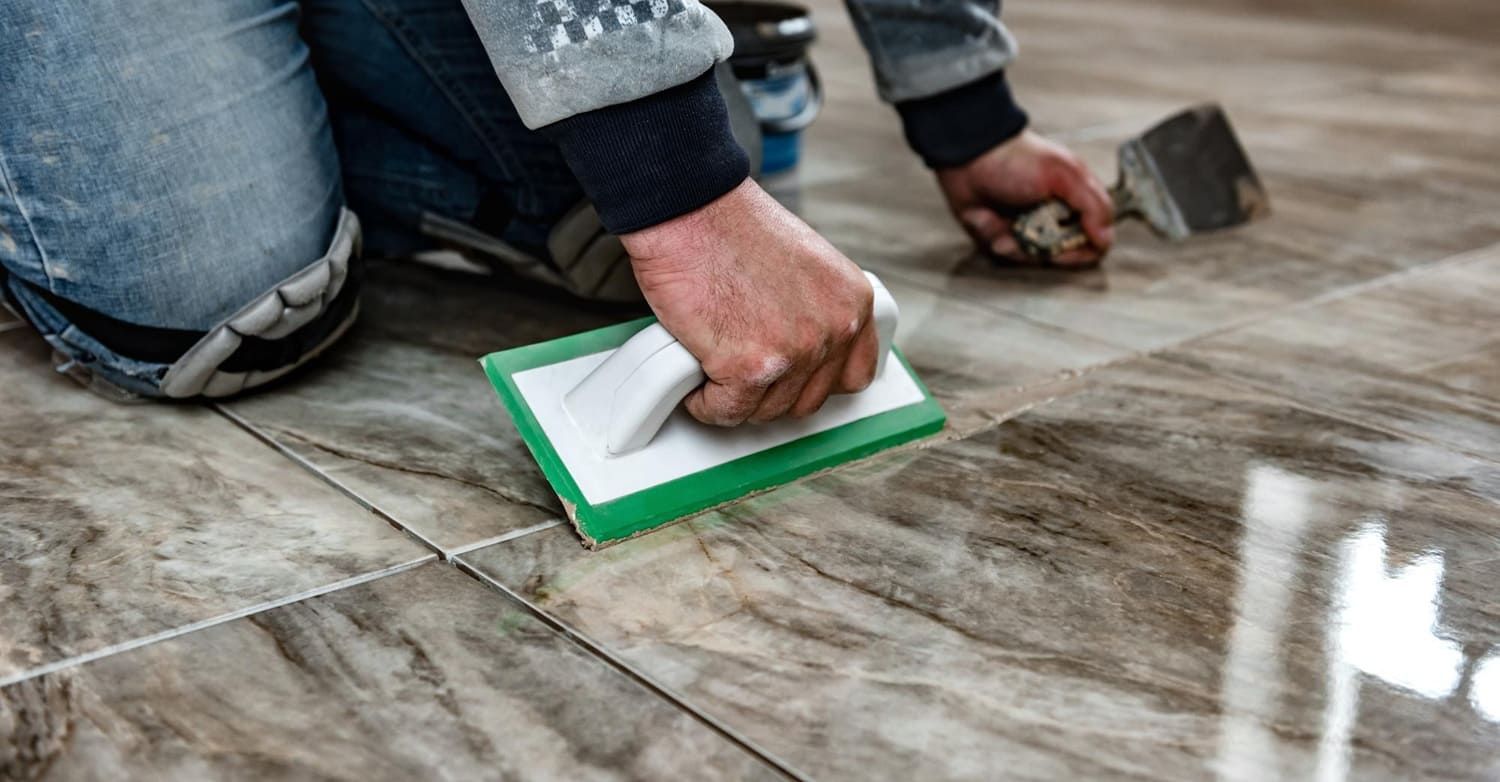
How to Apply Sealant Correctly
Applying sealant correctly is as important as choosing the right type. Follow these steps to ensure a proper and lasting seal. Proper application techniques minimize the risk of leaks and ensure a neat, professional finish. Each step in the application process plays a crucial role in the overall effectiveness of the seal.
Mistakes during application can lead to uneven coverage, gaps, and premature sealant failure. By taking the time to apply the sealant carefully and methodically, you can enhance the longevity and appearance of the sealed surface, ensuring it meets the demands of its intended use.
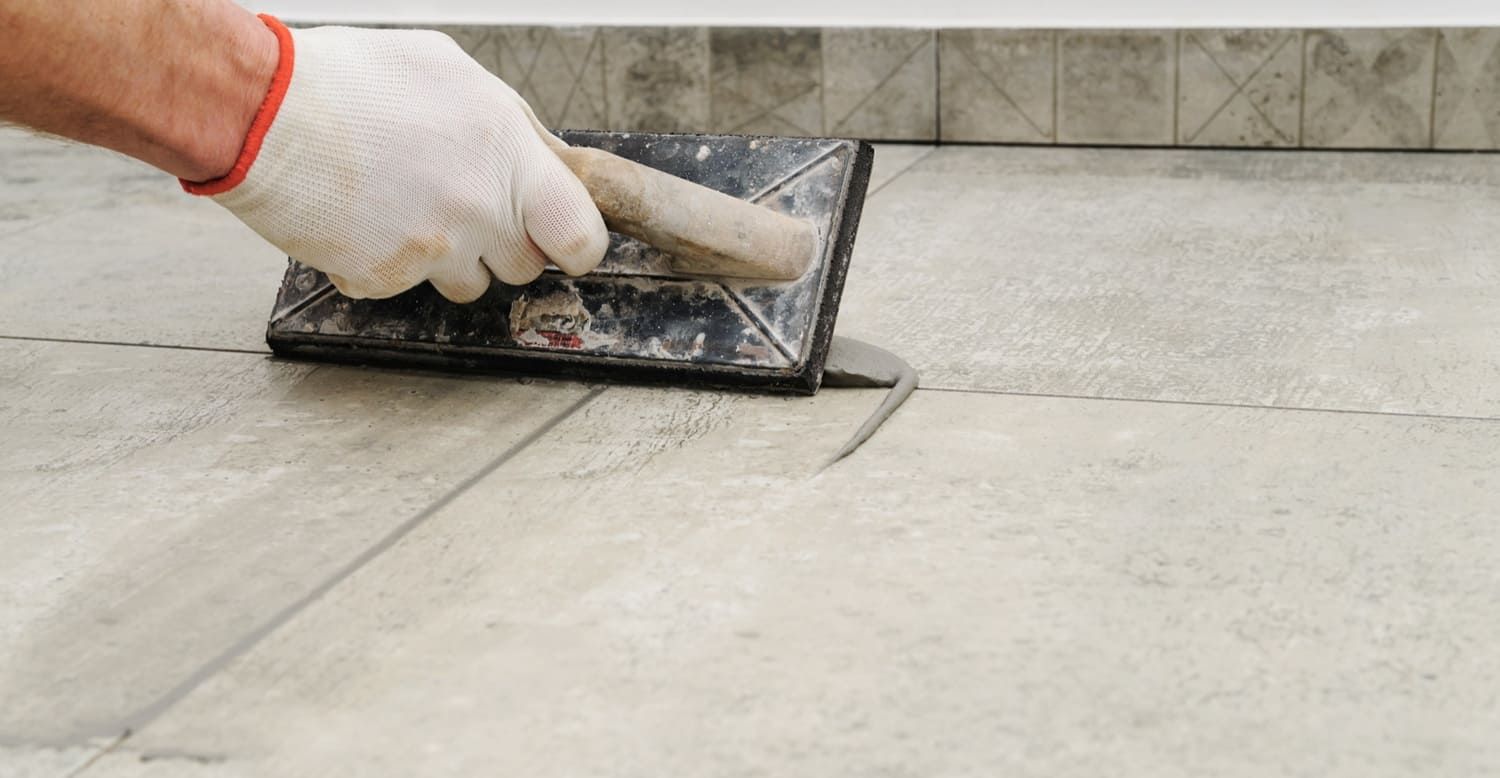
Step-by-Step Sealant Application
- Prepare the Tools: Gather all necessary tools including a caulking gun, gloves, and a damp cloth for smoothing the sealant. Having the right tools on hand makes the application process smoother and more efficient.
- Cut the Nozzle: Cut the nozzle of the sealant tube at a 45-degree angle. The size of the hole should match the width of the joint you are sealing. This ensures the sealant is applied evenly and precisely, preventing waste and mess.
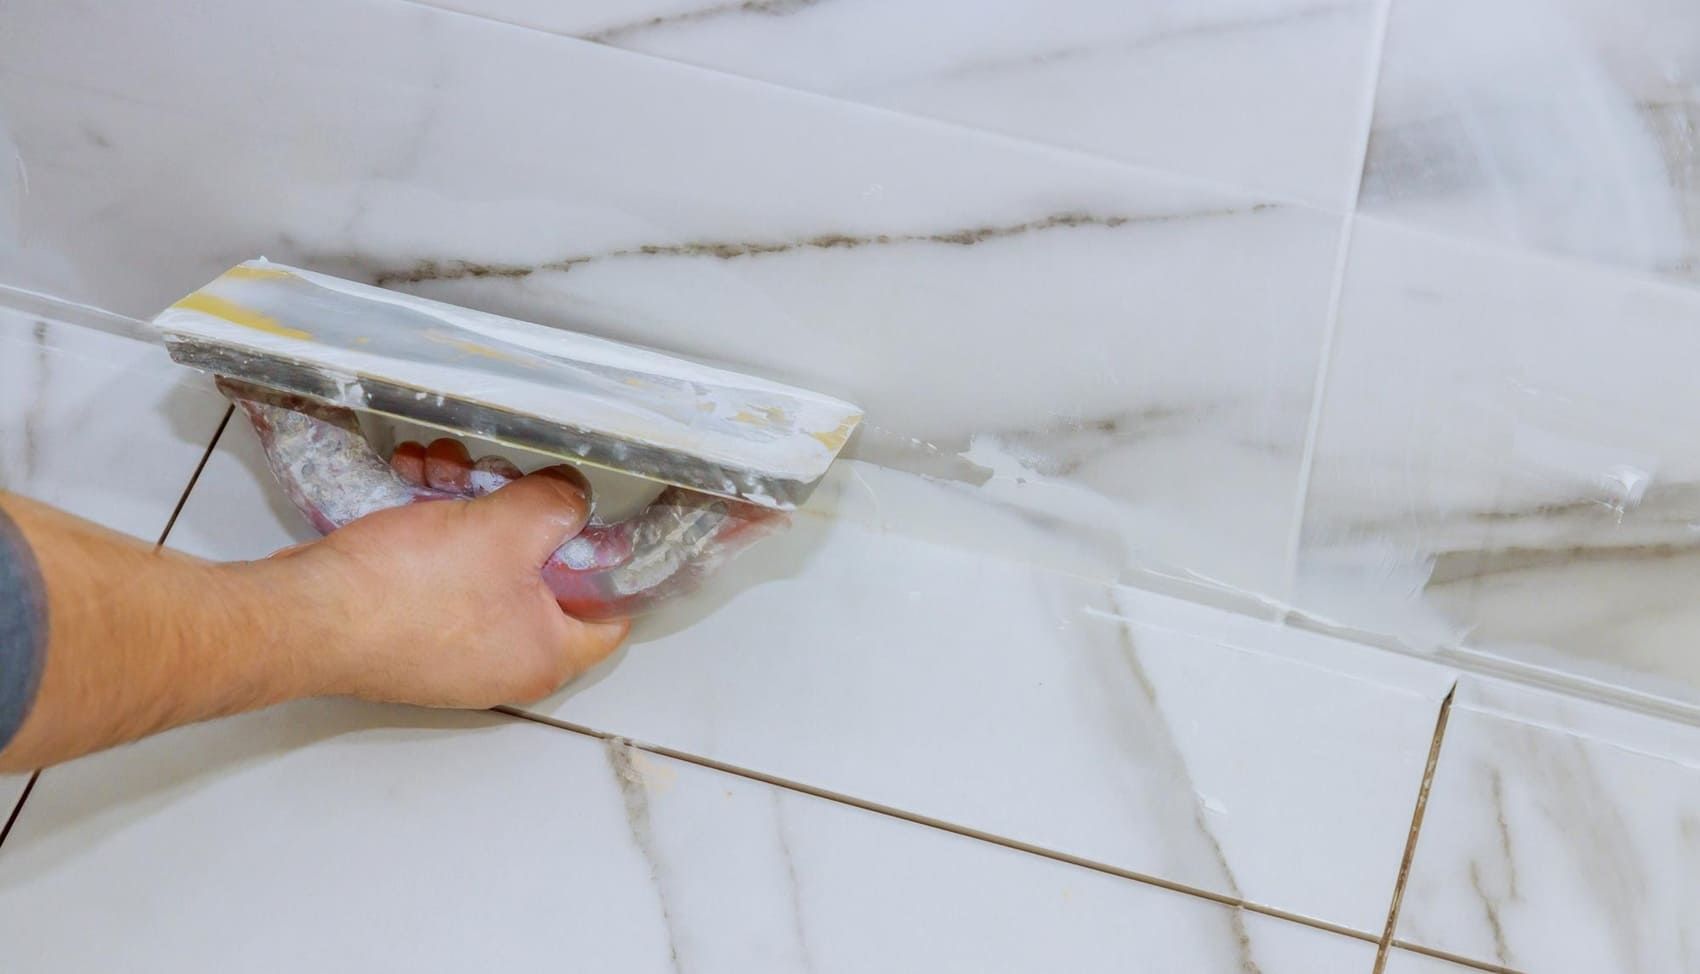
- Apply Evenly: Using the caulking gun, apply the sealant evenly along the joint. Move steadily to avoid gaps or bubbles. Consistent application ensures a uniform seal, enhancing both the performance and appearance of the finished product.
- Smooth the Sealant: Use a damp cloth or a smoothing tool to spread the sealant evenly. This ensures a neat and clean finish. Smoothing the sealant removes excess material and ensures it adheres firmly to the surface.
- Allow to Cure: Follow the manufacturer's instructions for curing time. Avoid disturbing the seal until it is fully set. Proper curing is essential for the sealant to reach its full strength and effectiveness.

Common Mistakes to Avoid
Sealing surfaces might seem straightforward, but there are common pitfalls that can affect the outcome. Here are a few to watch out for: Avoiding these mistakes can save you time, effort, and resources, ensuring your sealing project is a success. Awareness of these pitfalls helps you plan and execute your sealing tasks more effectively.
- Skipping Surface Preparation: Never skip the cleaning and preparation steps, as they are crucial for adhesion. Proper preparation sets the foundation for a strong, durable seal.
- Choosing the Wrong Sealant: Make sure to select a sealant that is suitable for your specific project needs. Using an inappropriate sealant can lead to failure and necessitate reapplication.
- Applying Too Much or Too Little Sealant: Balance is key. Applying too much can lead to mess, while too little can result in an ineffective seal. Finding the right balance ensures optimal performance and appearance.
- Ignoring Cure Time: Do not rush the curing process. Giving the sealant enough time to set will ensure its effectiveness. Proper curing allows the sealant to reach its full potential in terms of strength and durability.
Conclusion
Understanding the principles of surface treatment and the types of sealants available is essential for any sealing project. At ADVANCED Sealers and Cleaners, we offer the best sealers and cleaning products to help you achieve durable, long-lasting results on a variety of surfaces.
By following the proper preparation and application techniques, you can ensure an effective seal that enhances both the appearance and lifespan of your surface. Whether you're a DIY enthusiast or working on a home improvement task, this guide equips you with the knowledge and tools to seal with confidence.
Contact ADVANCED Sealers and Cleaners if you have any questions—we’re here to help you choose the right products and techniques for your specific project.
Mastering the art of sealing opens up countless opportunities to protect and beautify your home or workplace. With the right approach and the right materials, you’ll be well-prepared to tackle any sealing challenge and achieve professional-grade results.