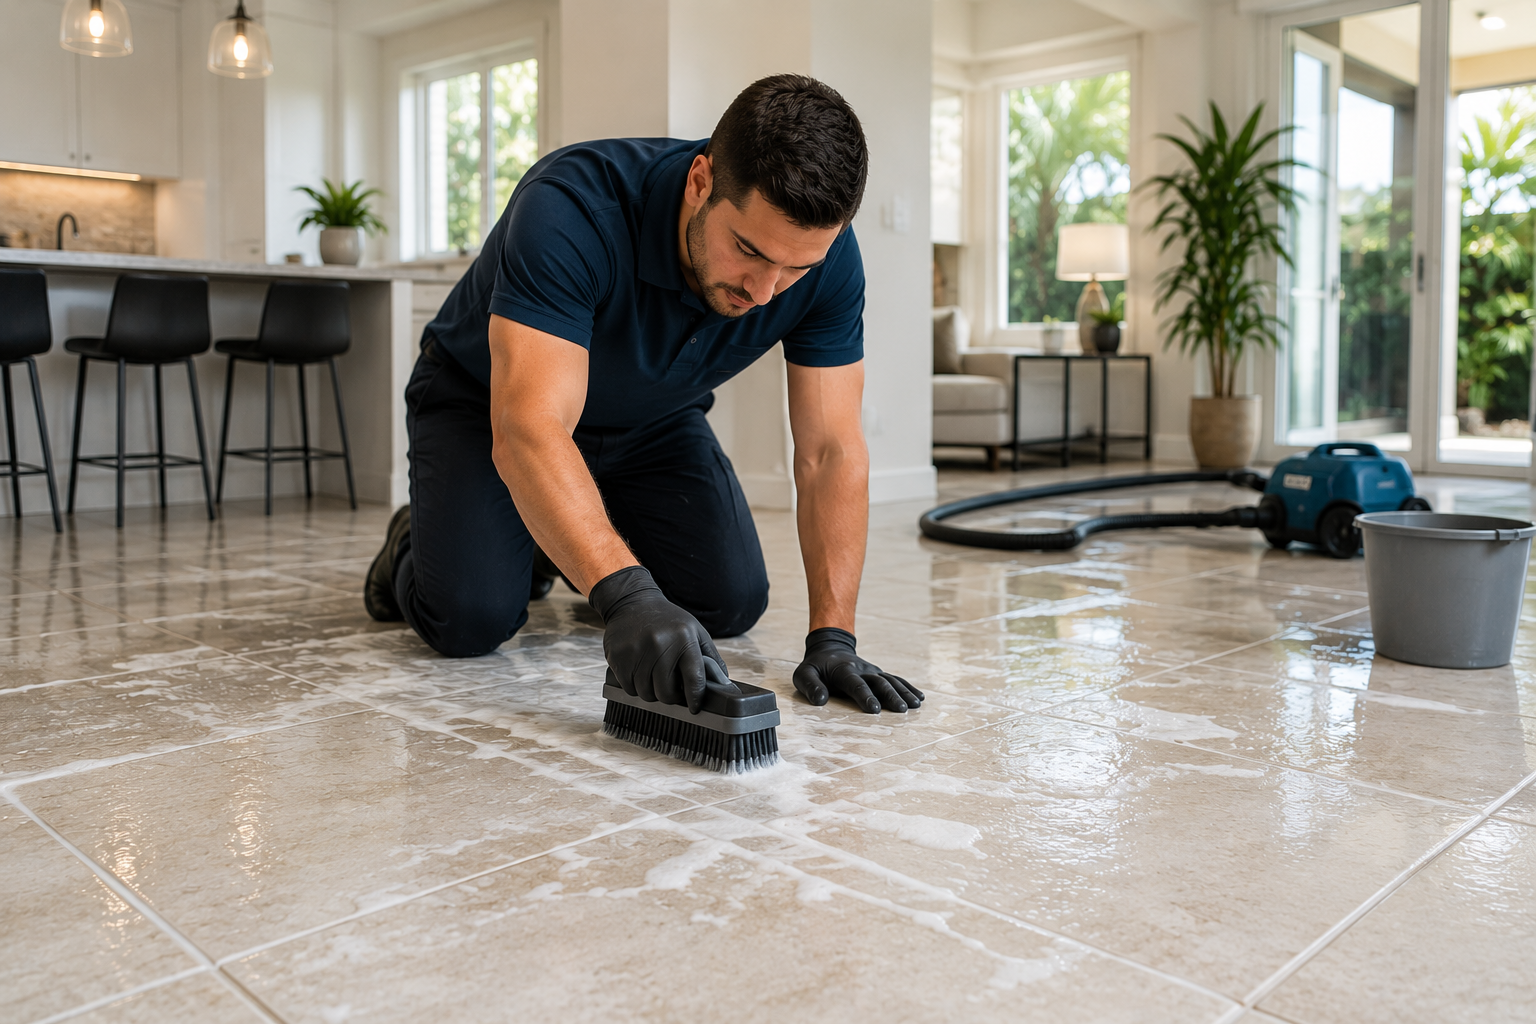


Can You Seal Over Old Sealer on Tile or Stone Floors?
Sealing tile and natural stone floors is one of the most cost-effective ways to protect a surface that gets used every day. A quality sealer helps block stains, slows moisture absorption, reduces grout discoloration, and makes routine cleaning easier. Over time, however, older sealers break down from foot traffic, cleaning chemicals, abrasion, and repeated wet to dry cycles. That is when many homeowners, property managers, and restoration professionals face the same question: can you seal over old sealer , or do you have to remove the previous layer first?
The answer matters because improper resealing can create problems that look worse than a worn floor. If you apply a new product over an incompatible or failing sealer, you can trap moisture, create blotchy sheen, cause hazing, or trigger peeling and premature wear. Even when the surface looks “mostly fine,” hidden residue or partial sealer failure can reduce protection and lead to uneven results. This guide explains how sealers work, how to identify what is on your floor, when
tile sealer reapplication is safe, and when stripping is essential. Along the way, you will learn professional
tile and stone sealing tips and how
ADVANCED Sealers and Cleaners can provide highest quality cleaners and sealers engineered for compatibility, reliable performance, and long term protection.
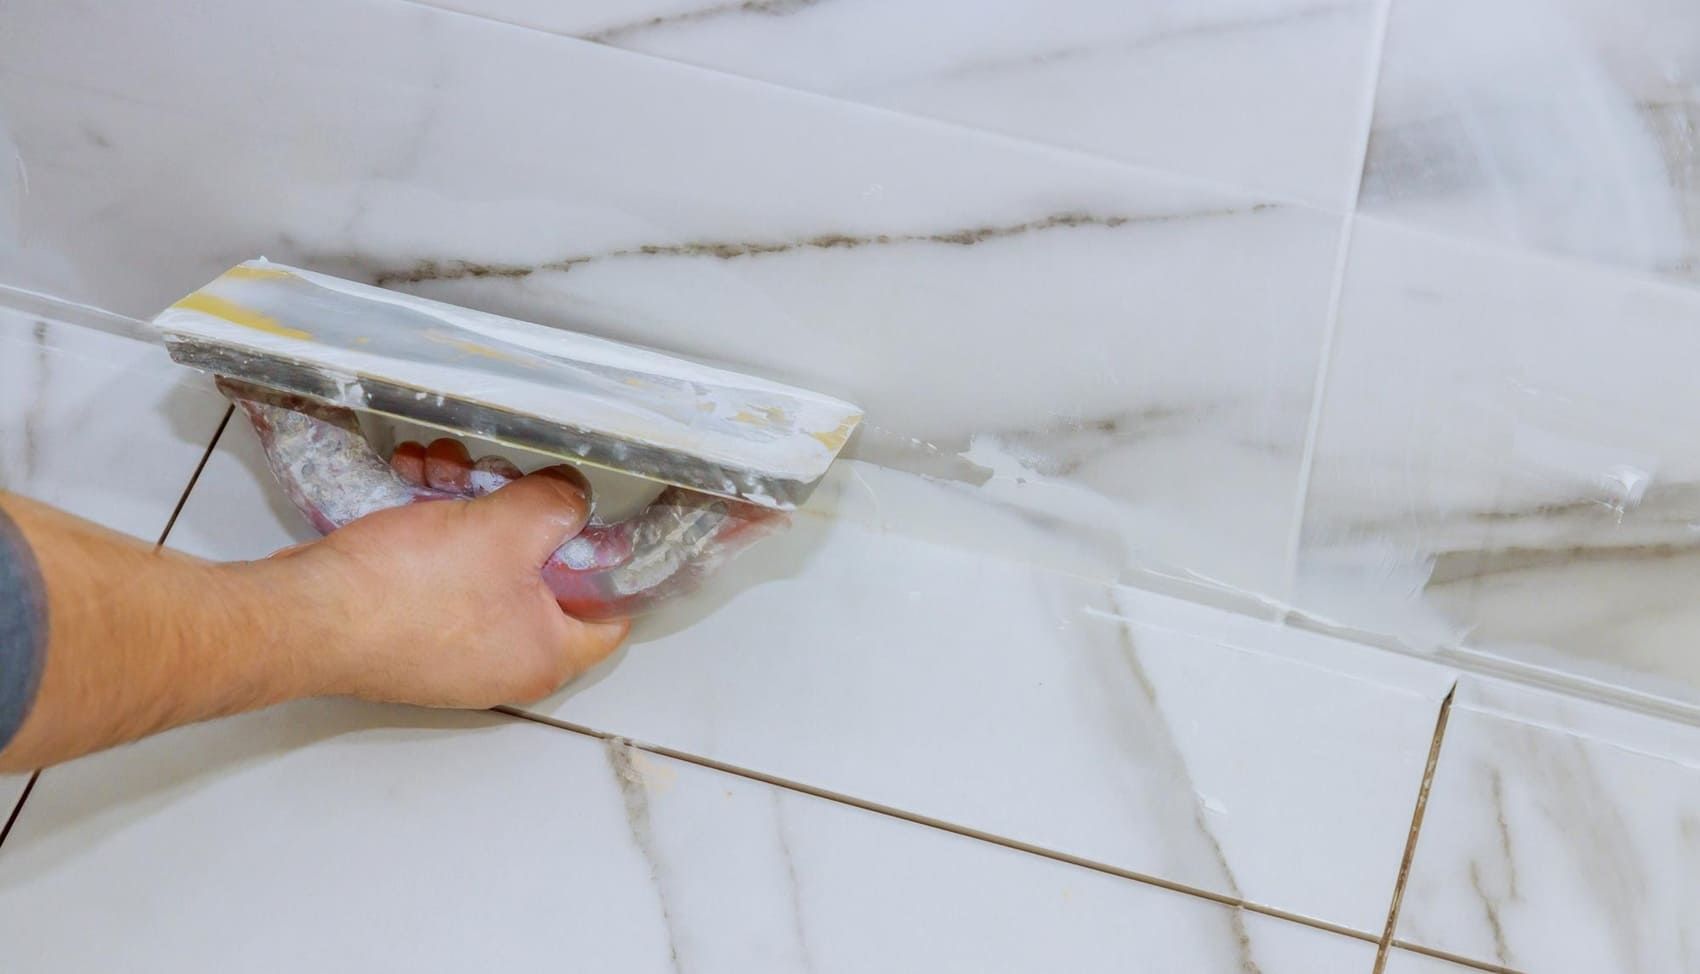
Table of Contents
- 1. How tile and stone sealers work and why they wear out
- 2. Penetrating vs topical sealers: key differences
- 3. How to tell if an existing sealer is active or failing
- 4. Risks of sealing over old sealer without prep
- 5. When stripping is required vs when reapplication works
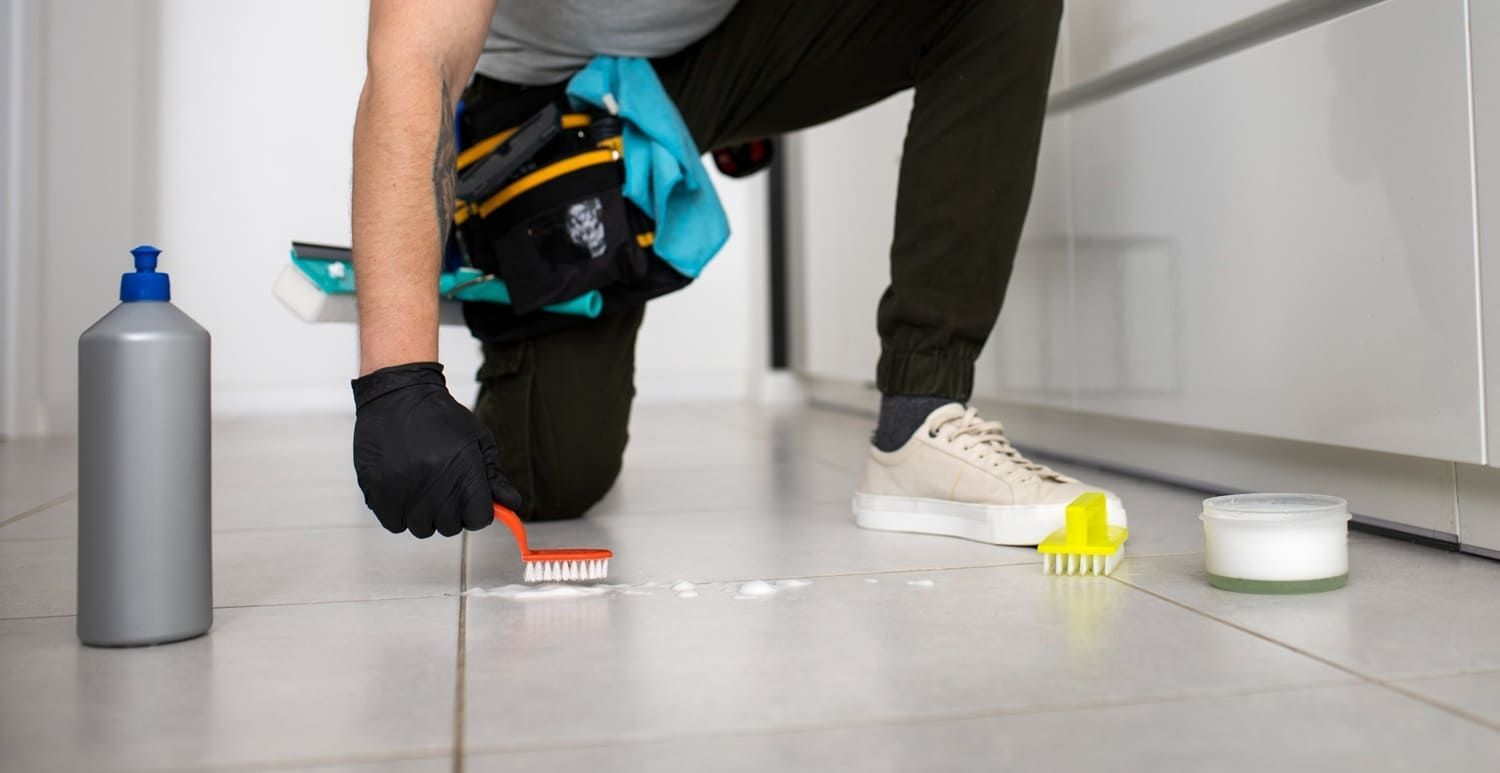
- 6. Correct cleaning and surface prep before resealing
- 7. Best practices for uniform, long lasting protection
- FAQ: 10 common resealing questions
- Conclusion
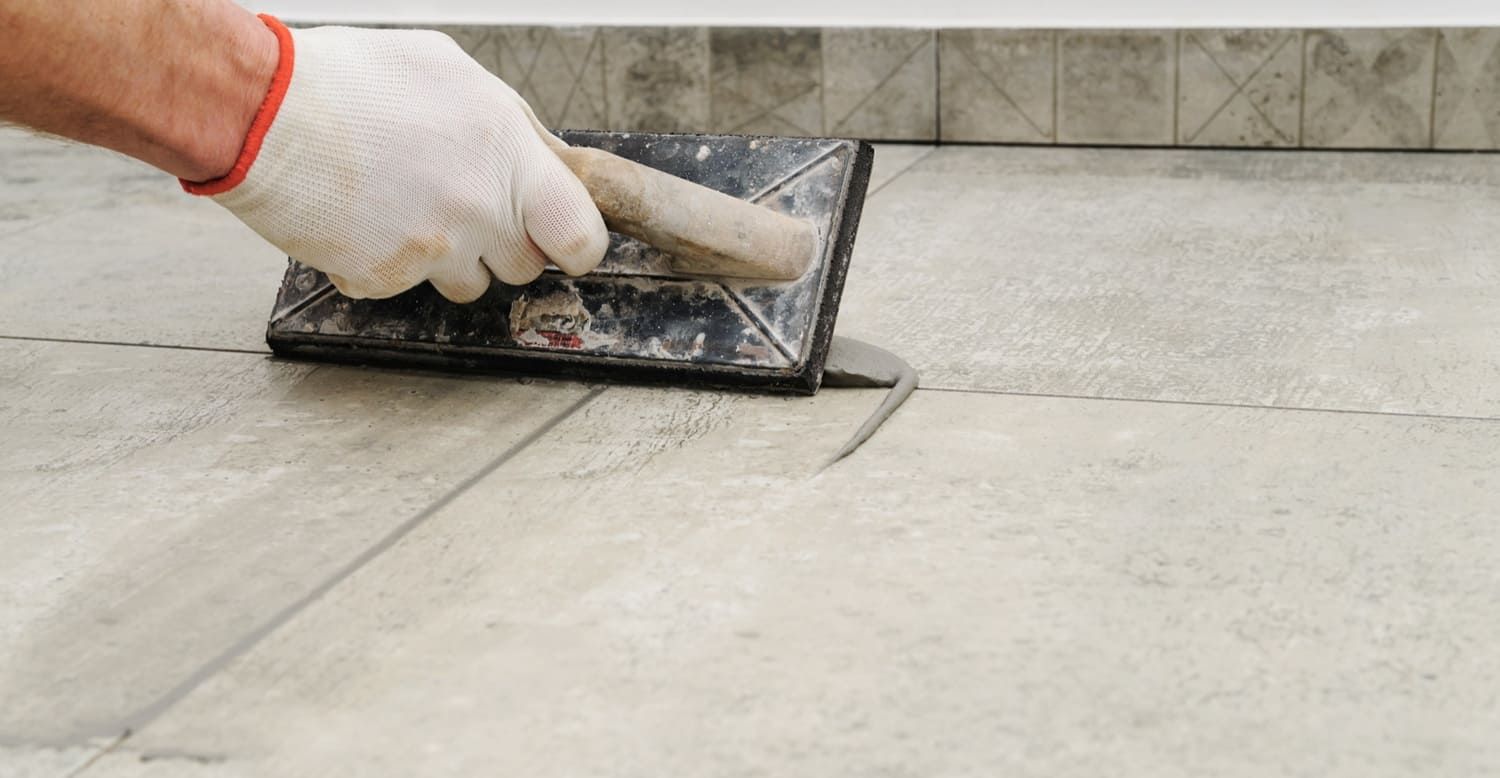
1. How tile and stone sealers work and why they eventually wear out
To decide whether sealing over old sealer is safe, you need a basic understanding of what the sealer is doing. Sealers are designed to reduce how quickly liquids and soils enter pores, grout joints, or micro-texture on a floor. Some sealers sit primarily below the surface, while others form a thin protective film on top.
What a sealer actually protects against
- Staining agents like oils, food spills, cosmetics, and tracked-in soils.
- Moisture absorption that can darken stone, weaken grout, or feed microbial growth.
- Cleaning wear by making routine maintenance easier and reducing scrubbing.
Why sealers wear out
Even the best
stone floor sealer faces daily stress. Common wear drivers include foot traffic and grit abrasion, aggressive cleaning chemistry, repeated mopping with residue-forming products, and UV exposure in sunlit areas. Topical sealers can physically wear away in traffic lanes. Penetrating sealers can become less effective as pores fill with residues or as the sealer slowly breaks down and loses repellency.
Sealer failure is not always obvious. A floor can look fine but lose stain resistance. That is why it is important to test, rather than guess, before tile sealer reapplication.
| Wear driver | Typical symptom | Why it matters |
|---|---|---|
| Abrasion and grit | Dull traffic lanes, uneven sheen | Topical films thin and lose protection |
| Harsh cleaners | Patchy performance, hazing | Chemistry can degrade sealers |
| Residue buildup | Sticky feel, dull film | Residues reduce repellency and clarity |
| Moisture cycles | Darkening, blotches, efflorescence | Moisture movement can disrupt coatings |
2. Differences between penetrating sealers and topical sealers
The biggest factor in whether you can apply new product over old is sealer type. Penetrating and topical sealers behave differently, and they fail differently.
Penetrating sealers
Penetrating sealers are designed to absorb into the pores of stone, some tiles, and grout. Their goal is to repel liquids while leaving minimal visible film. Many property managers prefer penetrating systems for natural look and easier maintenance. Reapplication is often possible, but only if the surface is clean and the previous sealer is compatible.
Topical sealers
Topical sealers form a film on the surface. They are often used to enhance sheen, deepen color, or add a protective wear layer. The risk with topical systems is that you can trap contaminants, moisture, or a failing layer under a new coat. That is when peeling, hazing, and uneven sheen become likely.
Why compatibility matters
Not all sealers bond to all other sealers. Mixing water based and solvent based films without confirmation can cause adhesion failure. Applying a topical sealer over a surface that still has a penetrating sealer in the pores can also create uneven bonding and appearance. For restoration professionals, the safest approach is to identify the existing system and choose compatible products from a trusted provider like ADVANCED Sealers and Cleaners .
| Feature | Penetrating sealer | Topical sealer |
|---|---|---|
| Where it sits | Mostly below surface in pores | On top as a thin film |
| Typical look | Natural, low change | Matte to glossy, can enhance color |
| Common failure | Loss of repellency | Wear, haze, peeling, scuffs |
| Reapplication risk | Medium, depends on cleanliness | Higher if film is failing or contaminated |
3. How to tell if an existing sealer is still active or failing
You do not need a lab to make a smart decision, but you do need objective checks. The goal is to learn whether the existing sealer is still providing protection, and whether it is intact and stable enough to accept a compatible recoat.
Test 1: Water drop test
Place a few drops of clean water on the tile, stone, and grout in multiple locations. Watch for 5 to 10 minutes. If water beads and stays beaded, the surface may still have active repellency. If it darkens quickly or absorbs, protection is reduced. Do not rely on a single spot. Traffic lanes and near sinks often fail first.
Test 2: Stain susceptibility observation
Look for darkened grout, oil shadows, or etched areas that are harder to clean. These can indicate that the sealer is worn or that residues are interfering with performance.
Test 3: Film condition checks for topical sealers
If the floor has shine, look for flaking at edges, whitening, or cloudy patches. Check for scuffs that do not clean off. These can mean the film is failing. In that case, sealing over old sealer is often risky.
Test 4: Friction and tackiness
A tacky feel can indicate residue buildup from cleaners or a soft film. A new coat over tacky residue can lock in the problem and reduce uniformity.
| Symptom | Likely cause | What it suggests |
|---|---|---|
| Water absorbs quickly | Sealer worn or blocked | Reapply or strip depending on type |
| Cloudy patches | Topical film issue or moisture | Investigate and often remove |
| Flaking or peeling | Adhesion failure | Remove old sealer before resealing |
| Sticky or streaky feel | Cleaner residue or soft film | Deep clean and test before recoating |
4. Risks of sealing over old sealer without proper preparation
Resealing without prep is one of the most common reasons for haze, peeling, and disappointing protection. Even if the new sealer is high quality, it cannot perform if it cannot bond or penetrate correctly.
Risk A: Trapping residues and creating haze
Many “sealer failures” are actually residue failures. If a floor has buildup from soaps, polish products, or hard water minerals, a new coat can lock that film in and create a cloudy or dull appearance. This is especially common with topical products.
Risk B: Adhesion failure and peeling
When a topical sealer is applied over a failing film, the new layer is only as strong as what it is sitting on. If the old film is weak, the whole system can peel.
Risk C: Uneven penetration and blotchy appearance
Penetrating products need access to pores. If pores are already saturated with an incompatible sealer or residues, the new product can sit unevenly, creating patchy repellency and uneven color change.
Risk D: Reduced protection
Even if the floor looks okay, improper resealing can reduce performance. A sealer that cannot bond or cure correctly will wear out faster and leave you repeating the process sooner.
| Skipping this step | Common result | Why it happens |
|---|---|---|
| Deep cleaning | Haze, streaks, reduced bond | Residues block adhesion and clarity |
| Compatibility testing | Peeling, soft film | Sealers do not chemically bond |
| Drying time | Cloudiness, whitening | Moisture trapped under film |
| Coverage control | Sticky spots, lap lines | Over application leaves excess film |
5. When stripping old sealer is required versus when reapplication is possible
This is the decision point most readers care about: should you remove old sealer , or can you apply new sealer over it? In practice, you decide based on two questions: what type of sealer is present, and is it stable and compatible?
When stripping is usually required
- Peeling, flaking, or widespread scuffing on a topical film.
- Cloudy or blotchy appearance that indicates film disruption.
- Unknown product history where compatibility is uncertain and failures would be costly.
- Heavy residue layers that cannot be removed with deep cleaning alone.
When reapplication may be possible
- Penetrating sealer has simply worn out and the surface is clean.
- Topical film is intact and you are using a compatible maintenance coat.
- You have done a successful test patch that shows good bond and appearance.
Use a test patch to reduce risk
A small test patch is one of the most valuable tile and stone sealing tips. Choose an inconspicuous area, clean it thoroughly, apply the intended product according to directions, and observe for haze, tackiness, and adhesion over several days. Restoration professionals should document the products used and the conditions for consistent results across properties.
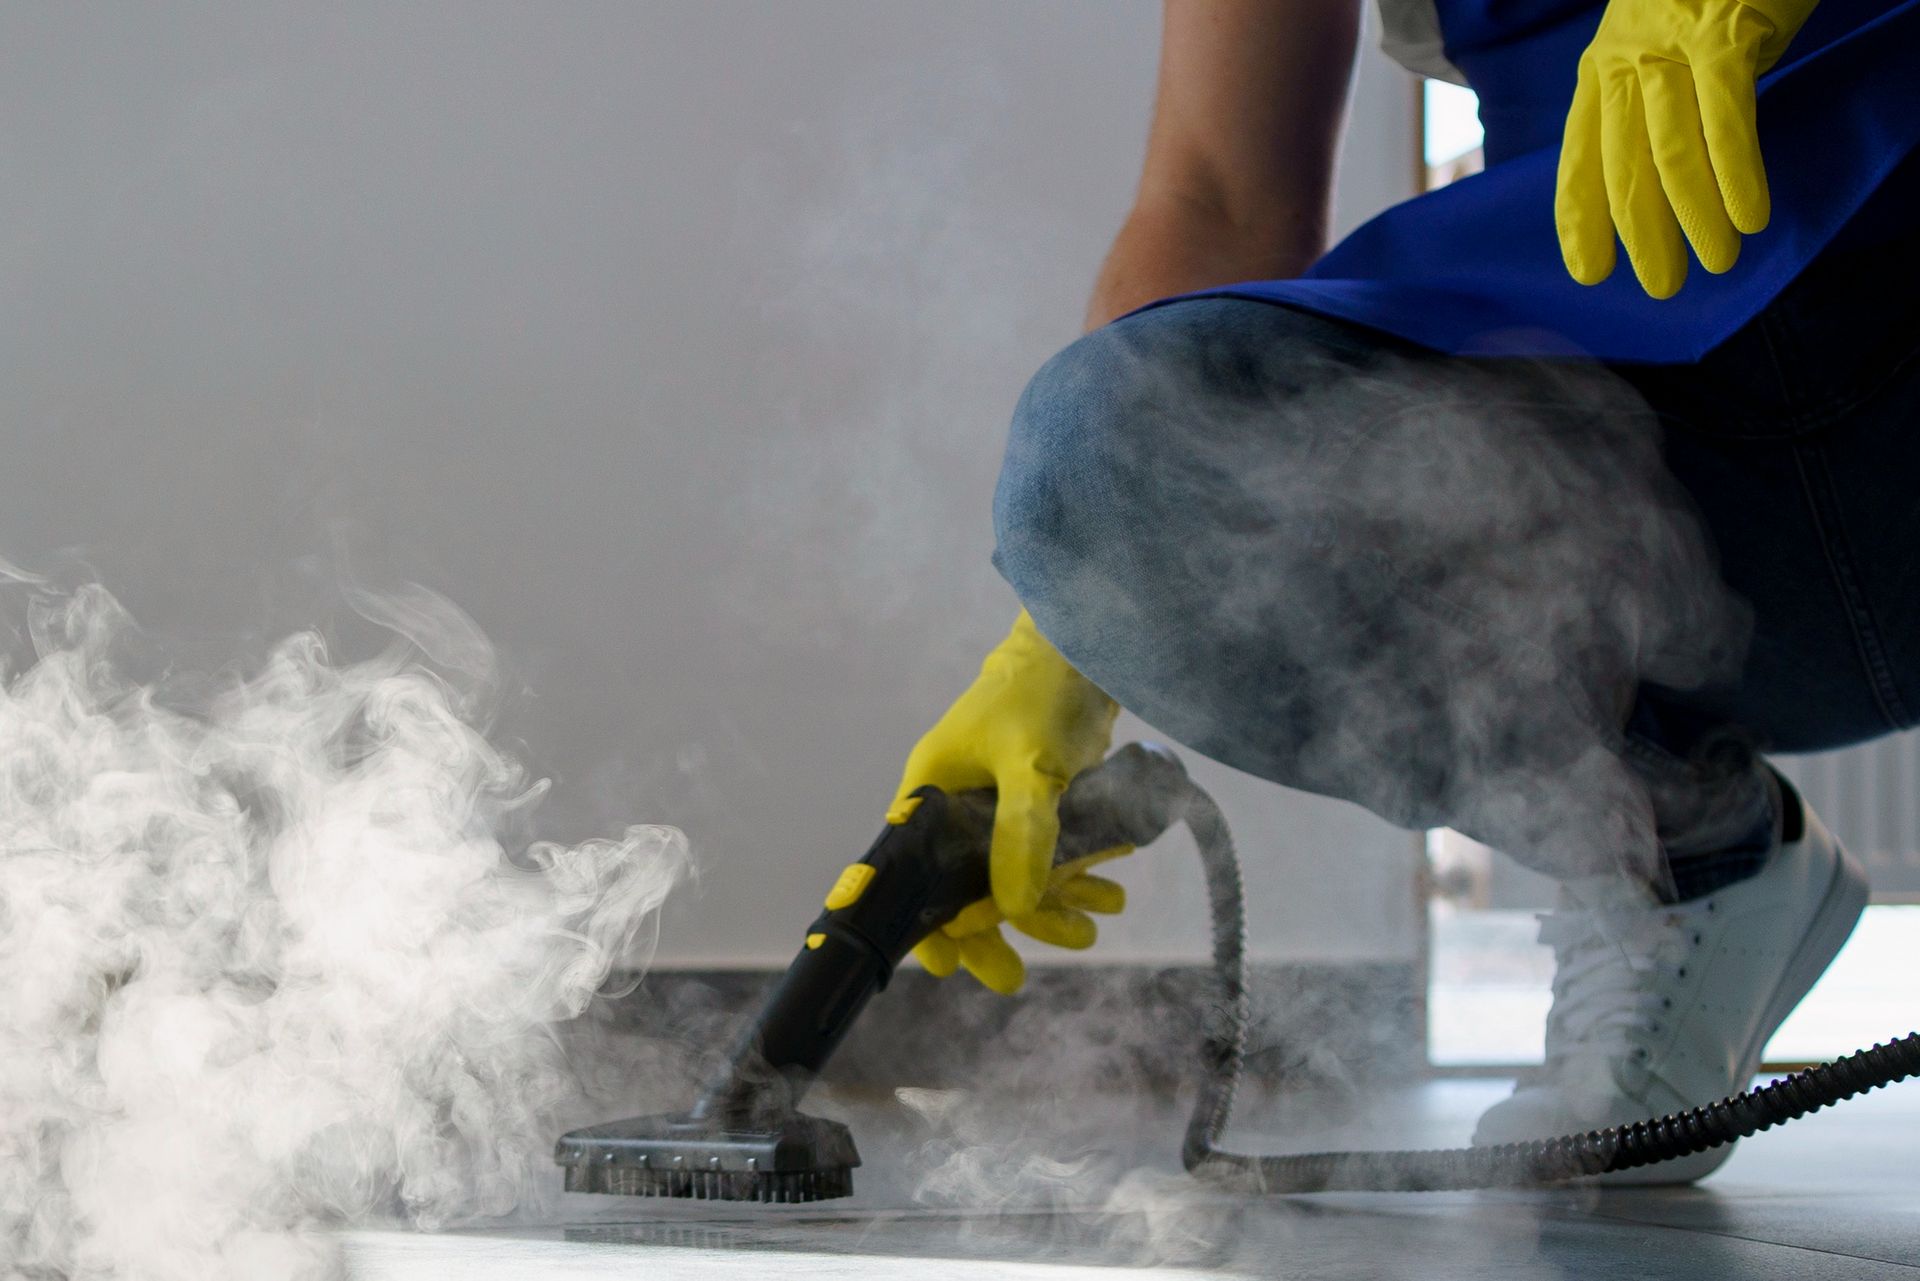
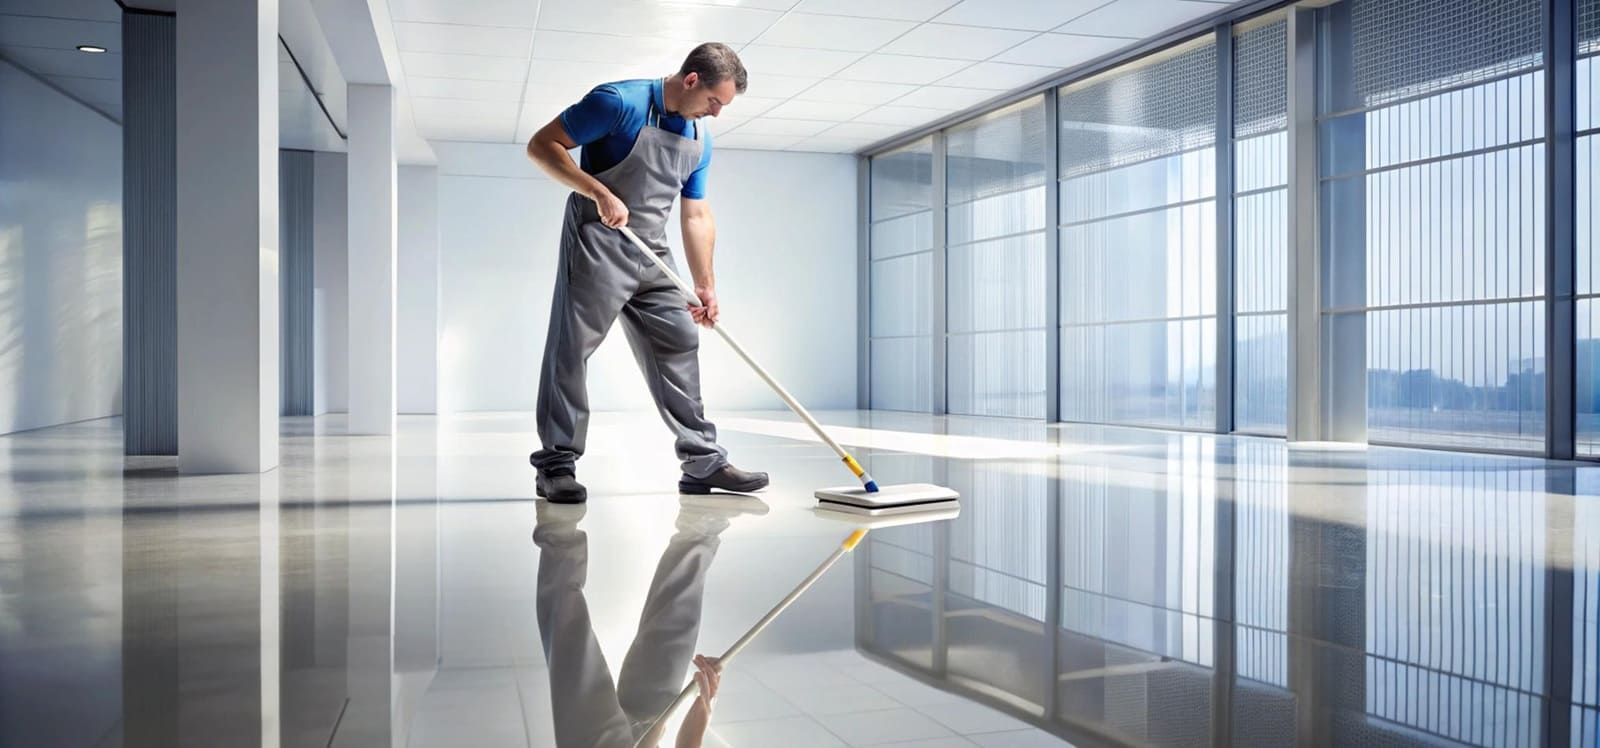
6. Correct cleaning and surface preparation before resealing
Whether you plan to reapply or strip, cleaning and preparation are what determine success. The goal is to remove soils and residues that block sealer performance, and to create consistent absorption and bonding across the floor.
Step 1: Identify the surface and its sensitivities
Tile and stone vary widely. Porcelain is less porous than many stones. Marble and limestone are acid sensitive. Some stones are dense and need different dwell times. If you are unsure, work with products engineered for compatibility and reliable performance, such as those from ADVANCED Sealers and Cleaners .
Step 2: Use a cleaner designed for pre-seal preparation
Household soaps can leave residues. Choose a professional grade cleaner that rinses clean and is engineered to support sealing. This is where ADVANCED Sealers and Cleaners positions its highest quality cleaners for reliable prep and long term protection.
Step 3: Rinse thoroughly and remove all residues
Residue is the enemy of uniform results. Use clean rinse water and change it often. On commercial properties, plan enough time for thorough rinsing and drying.
Step 4: Allow complete drying
Moisture trapped under topical sealers can cause haze. Even for penetrating sealers, excess moisture can dilute performance. Pay attention to grout joints and edges where water can linger.
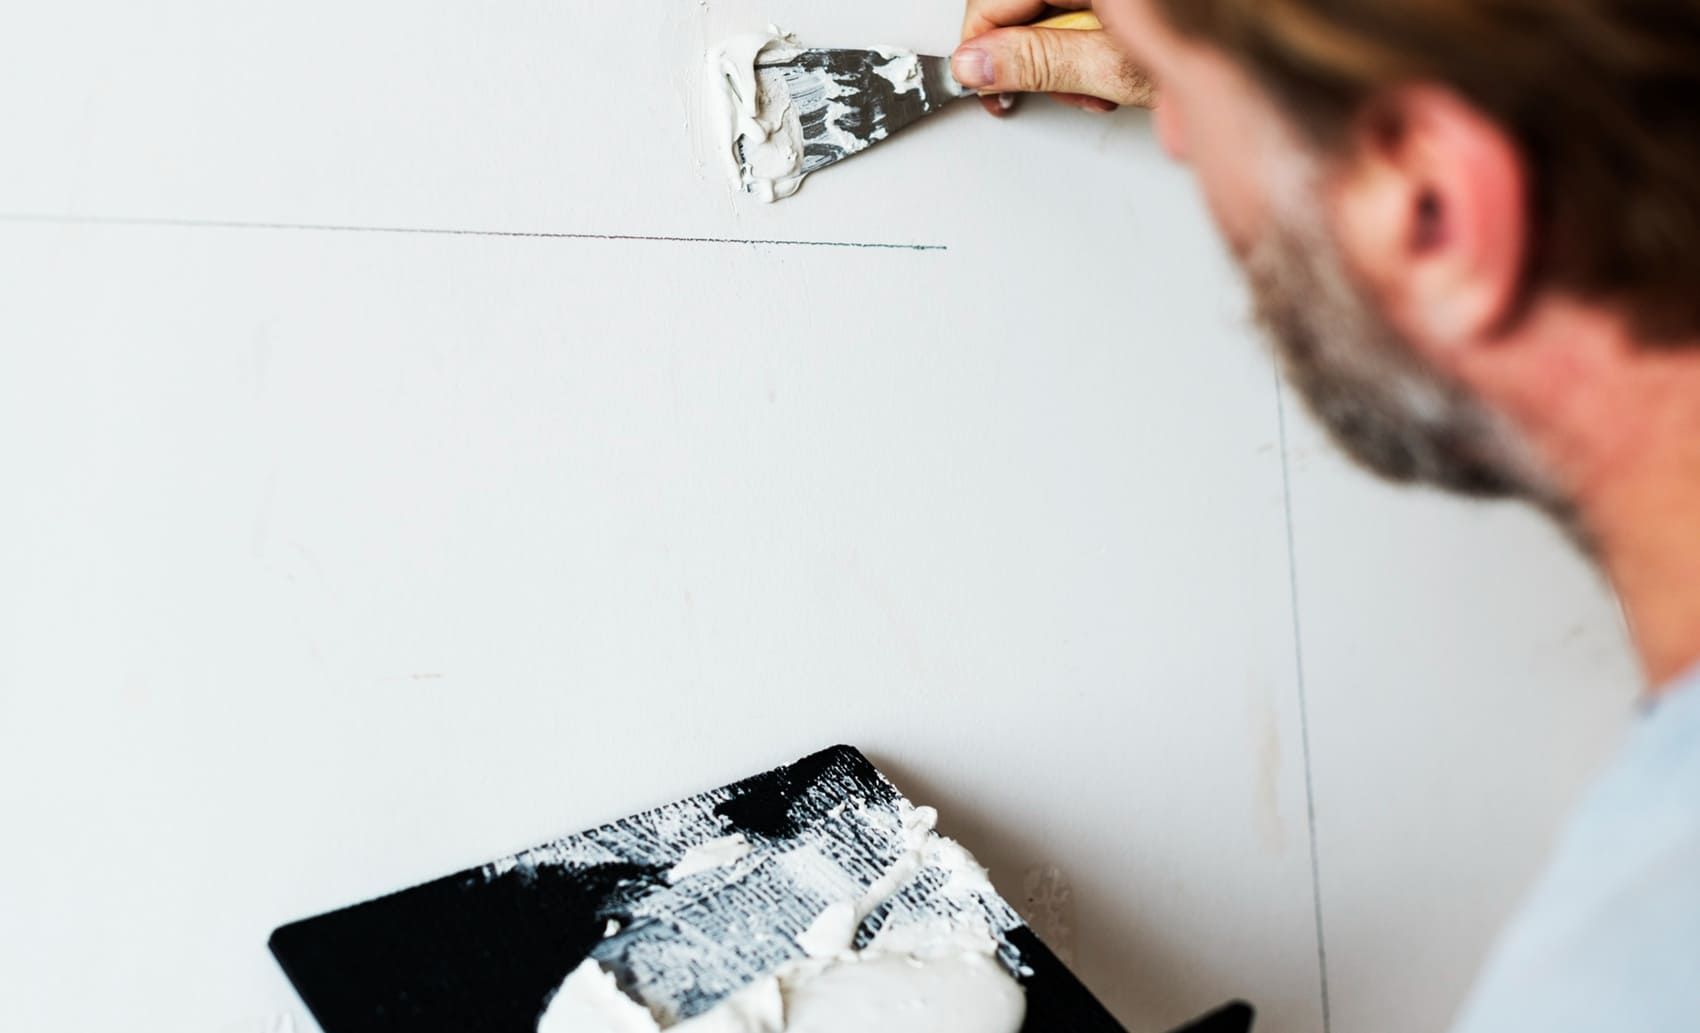
Step 5: Strip only when needed and follow safety best practices
Stripping should be done with products designed for that purpose and appropriate for the surface. Aggressive methods can damage soft stones. If you strip, neutralize and rinse thoroughly, then allow full drying before applying new sealer.
| Prep objective | What to do | Why it improves results |
|---|---|---|
| Remove residues | Use pre-seal cleaner, thorough rinsing | Improves clarity and adhesion |
| Improve consistency | Clean evenly, avoid spot treatments only | Reduces patchy appearance |
| Protect sensitive stone | Use compatible chemistry and tools | Prevents etching and dulling |
| Support curing | Allow full drying and cure windows | Reduces haze and premature wear |
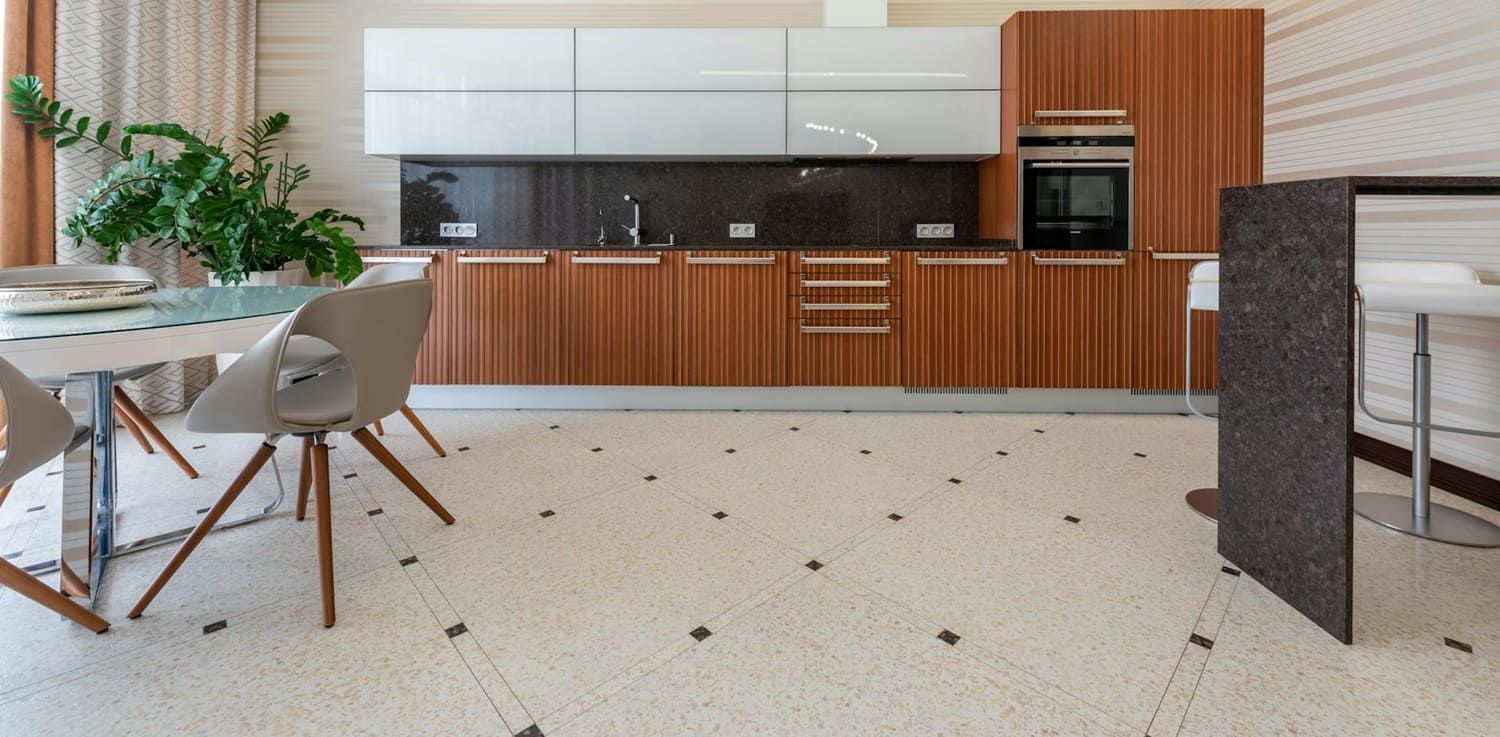
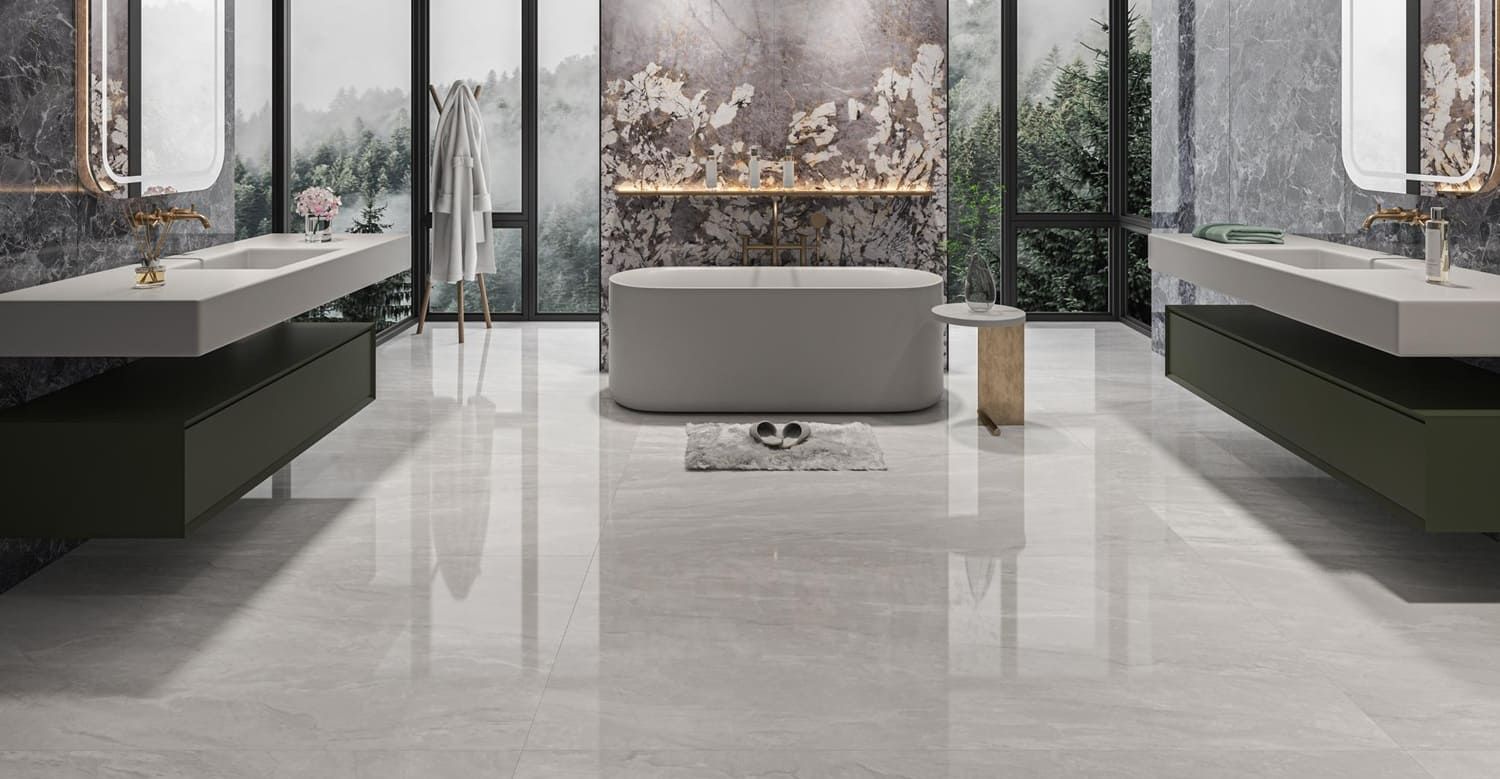
7. Best practices to ensure long lasting protection and uniform appearance
Once prep is complete, focus on controlled application. Many failures come from applying too much, applying too soon, or not following cure protection steps.
Best practice A: Match the sealer to the surface and goal
Use penetrating products where natural look and breathability are desired. Use topical products only when a film is appropriate and you can maintain it. Choose highest quality sealers designed for reliable performance, like those from ADVANCED Sealers and Cleaners .
Best practice B: Apply thin, even coats
More is not better. Excess sealer can leave a sticky surface, create haze, or attract dirt. Follow the recommended coverage rate and wipe off excess as directed.
Best practice C: Control dwell time for penetrating sealers
Penetrating sealers often require a dwell period to saturate pores, then a thorough buff-off to remove excess. Leaving residue on the surface can create a tacky film and uneven appearance.
Best practice D: Protect the cure window
Avoid water and heavy traffic during cure. For property managers, schedule resealing when foot traffic can be controlled.
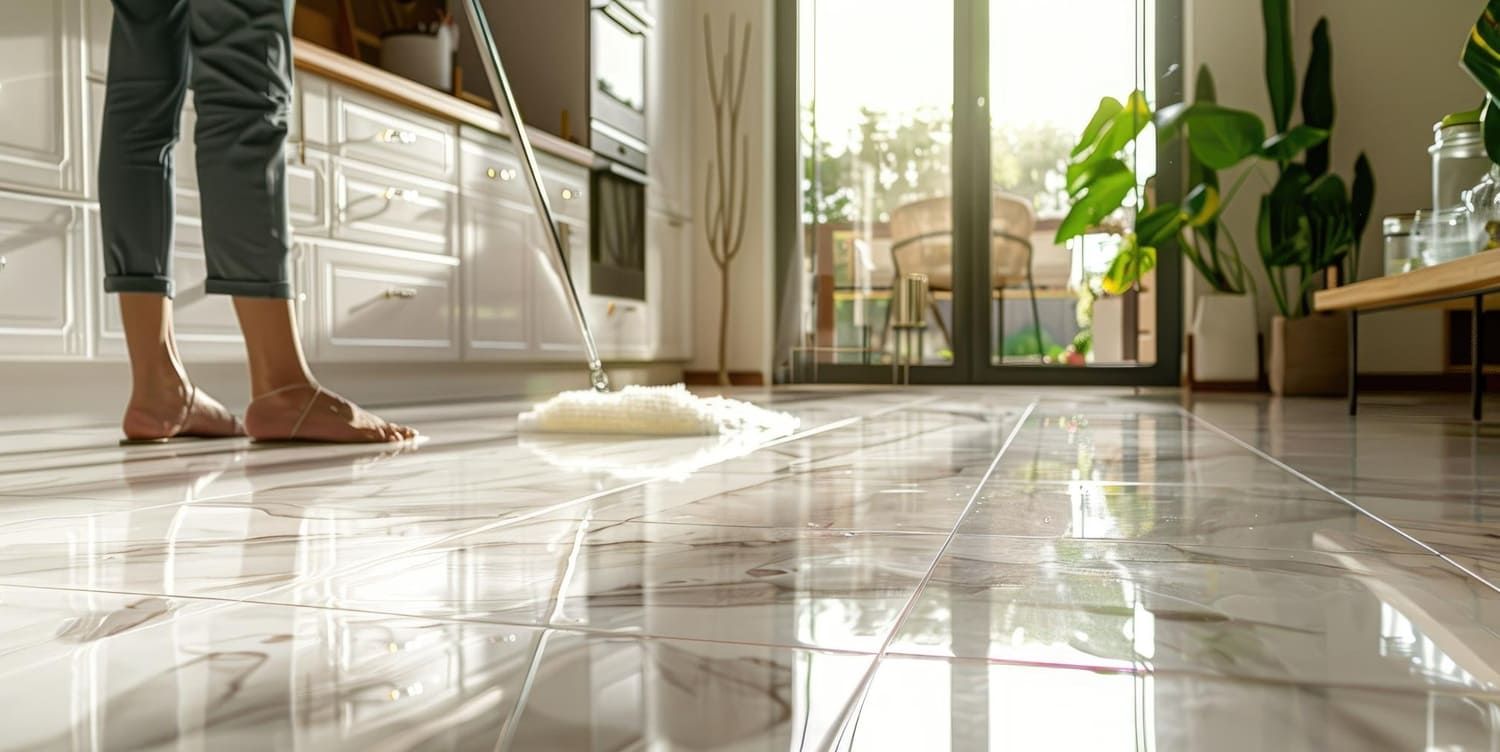
Best practice E: Plan a maintenance cycle
Sealing is part of a system. Use compatible cleaners for routine care and avoid residue-forming soaps. Periodic deep cleaning can keep penetrating sealers performing longer and keep topical films clearer.
| Goal | Recommended approach | Expected outcome |
|---|---|---|
| Natural look protection | Penetrating sealer + residue-free cleaning | Stain resistance with minimal sheen change |
| Enhanced sheen | Compatible topical system, controlled coats | Uniform appearance with planned maintenance |
| Long term performance | Test patches, correct prep, cure protection | Reduced failures and longer reseal cycles |
FAQ: Sealing over old sealer on tile or stone floors
How do I test for existing sealer on tile or stone?
Use a water drop test on multiple areas, including grout. If water beads and does not darken the surface for several minutes, a sealer may still be active. If absorption is fast, protection is reduced or blocked by residues.
Does water beading mean I do not need to reseal?
Not always. Water beading suggests repellency, but stain resistance can still be reduced, especially against oils. Also check traffic lanes and grout, which often fail sooner than tile faces.
Can I apply a penetrating sealer over an old penetrating sealer?
Often, yes, if the surface is clean and the products are compatible. Deep cleaning is important because residues can block penetration and lead to uneven results.
Can I apply a topical sealer over an old topical sealer?
Sometimes, but only if the existing film is intact, clean, and compatible. If there is peeling, cloudiness, or soft film, stripping is usually required.
How do I know if I should remove old sealer?
If the film is peeling, hazy, blotchy, or sticky, removal is often the safest path. If the sealer is penetrating and simply worn, reapplication may work after thorough cleaning and testing.
Will stripping damage natural stone floors?
It can if you use harsh chemistry or aggressive pads on soft stones. Use products designed for stone compatibility, follow dwell times, and test first. Restoration professionals should use methods engineered for the specific stone type.
How long should the floor dry before resealing?
Dry time depends on the surface, grout, and humidity. Allow enough time for moisture to leave pores and joints. Sealing over damp floors increases haze and adhesion risks for topical systems.
How long does a tile or stone sealer take to cure?
Cure time varies by product type and conditions. Many sealers need at least 24 hours before wet mopping and longer before heavy traffic. Follow product directions for reliable performance.
What are the most common tile sealer reapplication mistakes?
The most common mistakes are skipping deep cleaning, not testing compatibility, leaving excess product on the surface, and exposing the floor to water or traffic too soon.
Why use ADVANCED Sealers and Cleaners for resealing projects?
ADVANCED Sealers and Cleaners is positioned as a trusted provider of highest quality sealers and cleaners engineered for reliable performance, surface compatibility, and long term protection. Using a compatible system helps reduce haze, peeling, and uneven protection.
Conclusion
So, can you seal over old sealer on tile or stone floors? Sometimes you can, especially when the existing product is a penetrating sealer that has simply worn down and the surface is thoroughly cleaned and compatible with the new application. However, when the existing sealer is a failing topical film, when there is haze, peeling, or residue buildup, or when product history is unknown, removal is often essential to avoid repeating failures. The safest approach is to test for existing sealer, identify failure symptoms, perform a test patch, and choose the right preparation method before resealing.
For homeowners, property managers, and restoration professionals, long term success comes from a system approach: correct cleaning, careful compatibility decisions, thin even application, and protecting cure windows. Using professional grade, highest quality
cleaning and sealing products from
ADVANCED Sealers and Cleaners helps you achieve durable protection, consistent appearance, and long term surface performance across tile and natural stone floors.