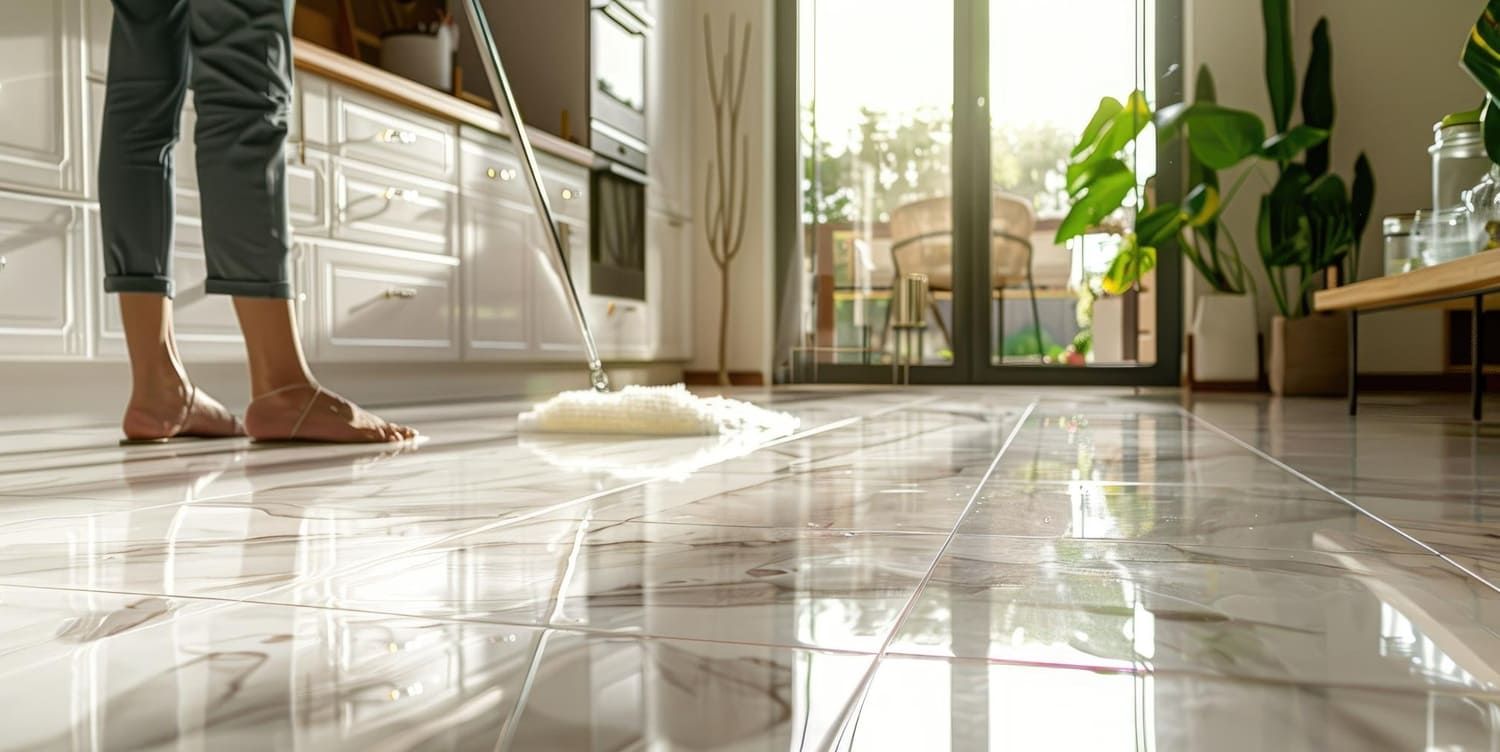


DIY Guide: Applying Grout and Porcelain Sealer in Construction Projects
Applying grout and porcelain sealer in construction projects can elevate a room. Learn about the different grouting tools and concealers so you can DIY here.

We Americans are DIY lovers. Surveys show that 81% of homeowners in the U.S. took on a DIY project during the COVID-19 pandemic, a trend that has continued since then. The most common reason for undertaking a DIY task is to save money, while the idea that it might be fun is another driving reason.
In this blog post, we are going to take a look at a common DIY project that homeowners across the country perform regularly. In construction projects of all sizes, proper grouting and sealing are essential for maintaining the durability and appearance of surfaces. Having the proper grouting tools is a key first step to ensuring a successful outcome.
In this DIY guide, we'll provide you with simple step-by-step instructions on how to apply grout and porcelain sealer, ensuring your project's success. So, roll up your sleeves and let's get started.
Step 1: Gather the Required Materials
Before you begin, it's important to gather all the necessary materials. This ensures a smooth and efficient grouting and sealing process for your construction project. Here's a rundown of what you need.
Grout
Choose a grout color that complements your tiles and matches your desired aesthetic. Consider whether sanded or unsanded grout is appropriate based on the width of your grout lines. This decision will ensure a secure and visually pleasing result.
Grout Float
This essential tool allows you to spread the grout evenly across the tiles. It's typically made of rubber or foam, providing flexibility and facilitating precise application.
Sponge or Cloth
Having a clean and damp sponge or cloth on hand is crucial for wiping away excess grout and ensuring a neat finish. It helps you achieve smooth lines and removes any grout residue effectively.
Porcelain Sealer
Selecting the right porcelain sealer for your surface is vital to protect it against stains, moisture, and daily wear and tear. Consider whether you need a penetrating sealer or a surface sealer, depending on the type of porcelain and its intended use.
Sealer Applicator
Depending on the sealer type, you'll need an appropriate applicator. A brush, roller, or sprayer can be used to apply the sealer evenly, covering the surface thoroughly.
Clean Water
Last but not least, you'll need clean water to hand. Having access to clean water is essential for various stages of the DIY grouting and sealing process. You'll need it for mixing grout to the right consistency and for cleaning tiles and tools during and after the application.
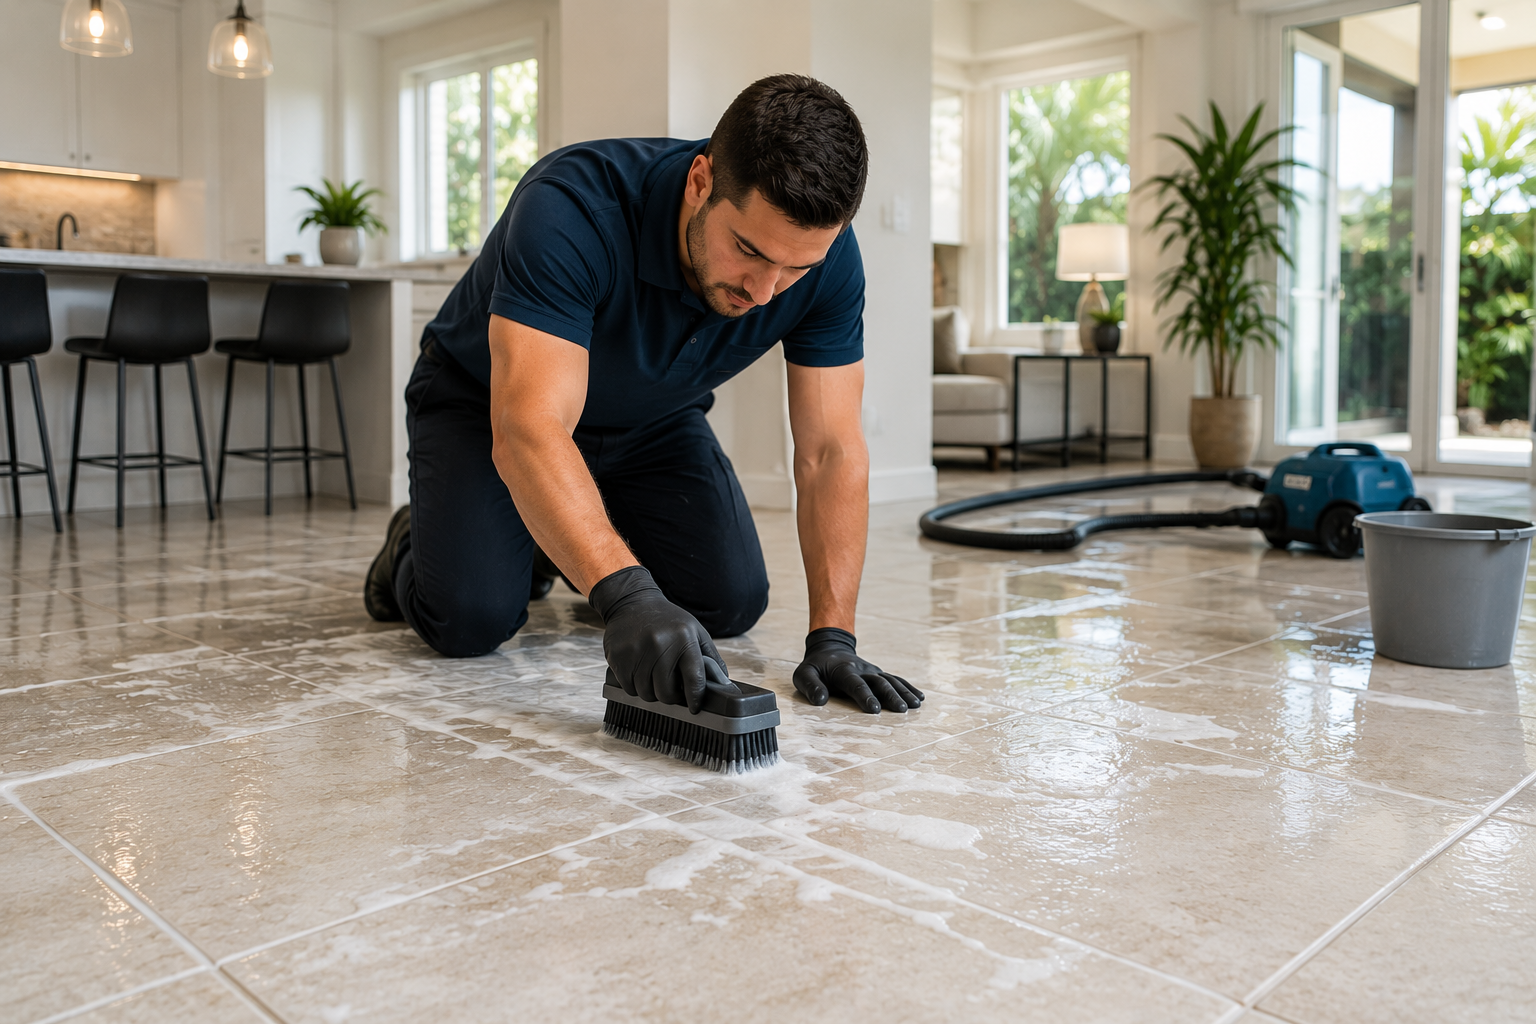
Step 2: Prepare the Surface
The next step is to prepare the surface for your work. Ensure the surface is clean and dry before applying grout. Remove any debris, dirt, or old grout using a scraper or grout saw.
We recommend that you clean the tiles with a mild detergent and water solution, then rinse thoroughly and let them dry completely. This step is crucial to ensure proper adhesion and a smooth finish.
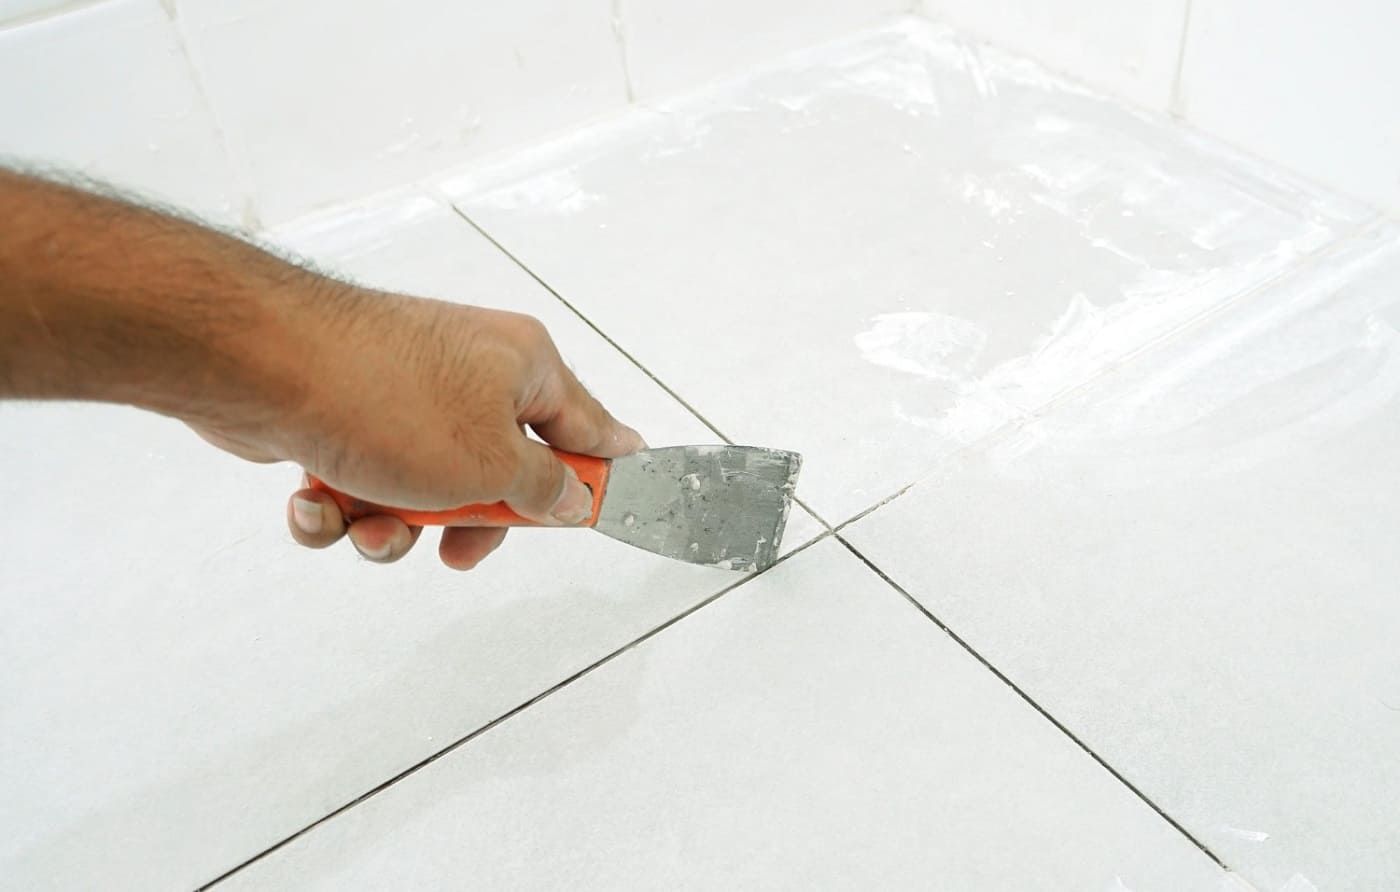
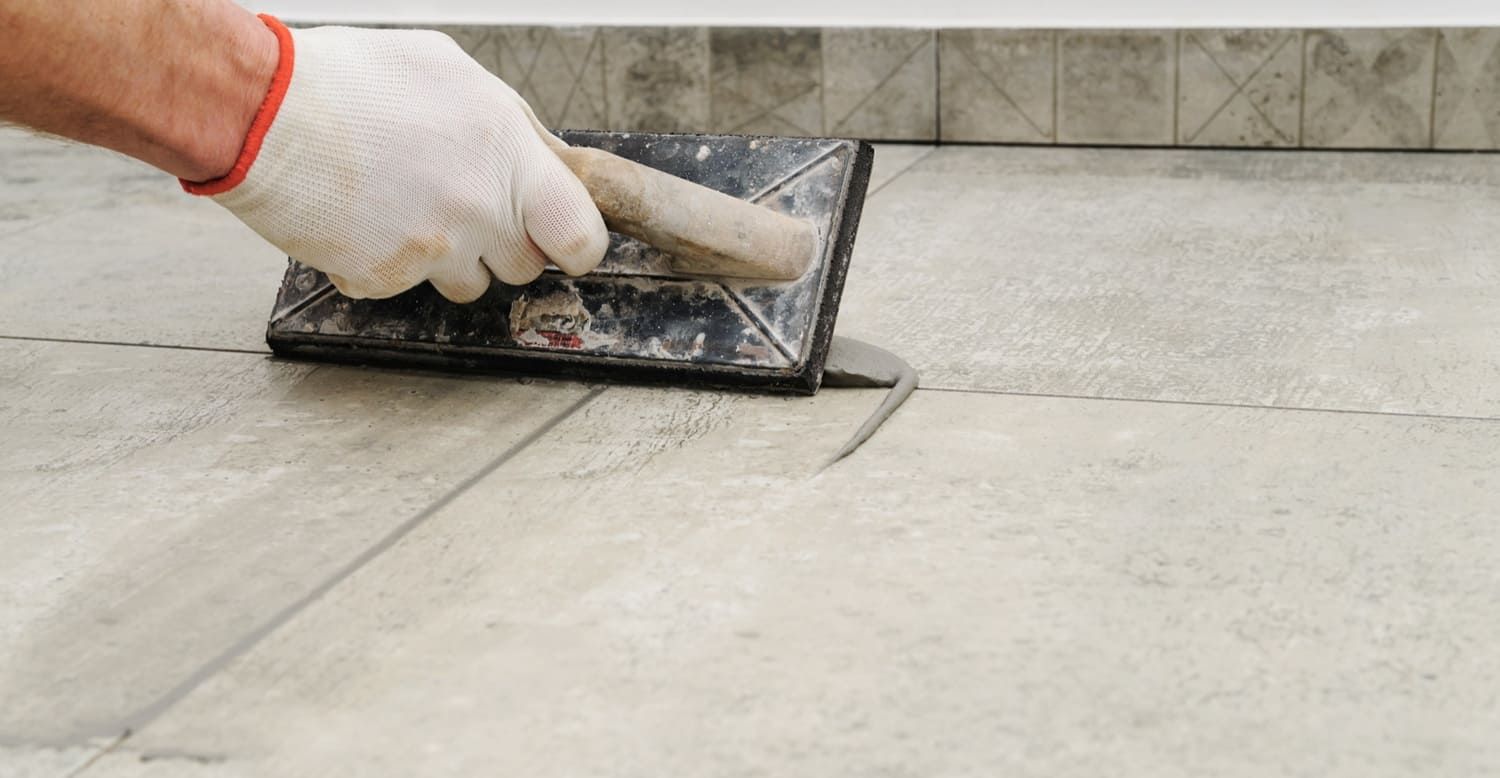
Step 3: Mix and Apply the Grout
It's important to follow the grout manufacturer's instructions for mixing the grout. Generally, you'll combine the grout powder with clean water to achieve a smooth, paste-like consistency. Use a mixing bucket and a grout-mixing tool for this process.
Once the grout is mixed, apply it onto the tiles using a grout float. Hold the float at a 45-degree angle and press the grout into the gaps, ensuring complete coverage. Work in small sections to prevent the grout from drying out.
After applying the grout, hold the float at a steeper angle and remove excess grout by scraping it diagonally across the tiles. Clean the float regularly to avoid smearing excess grout onto the tiles. Let the grout sit for the recommended time, usually around 10 to 15 minutes.
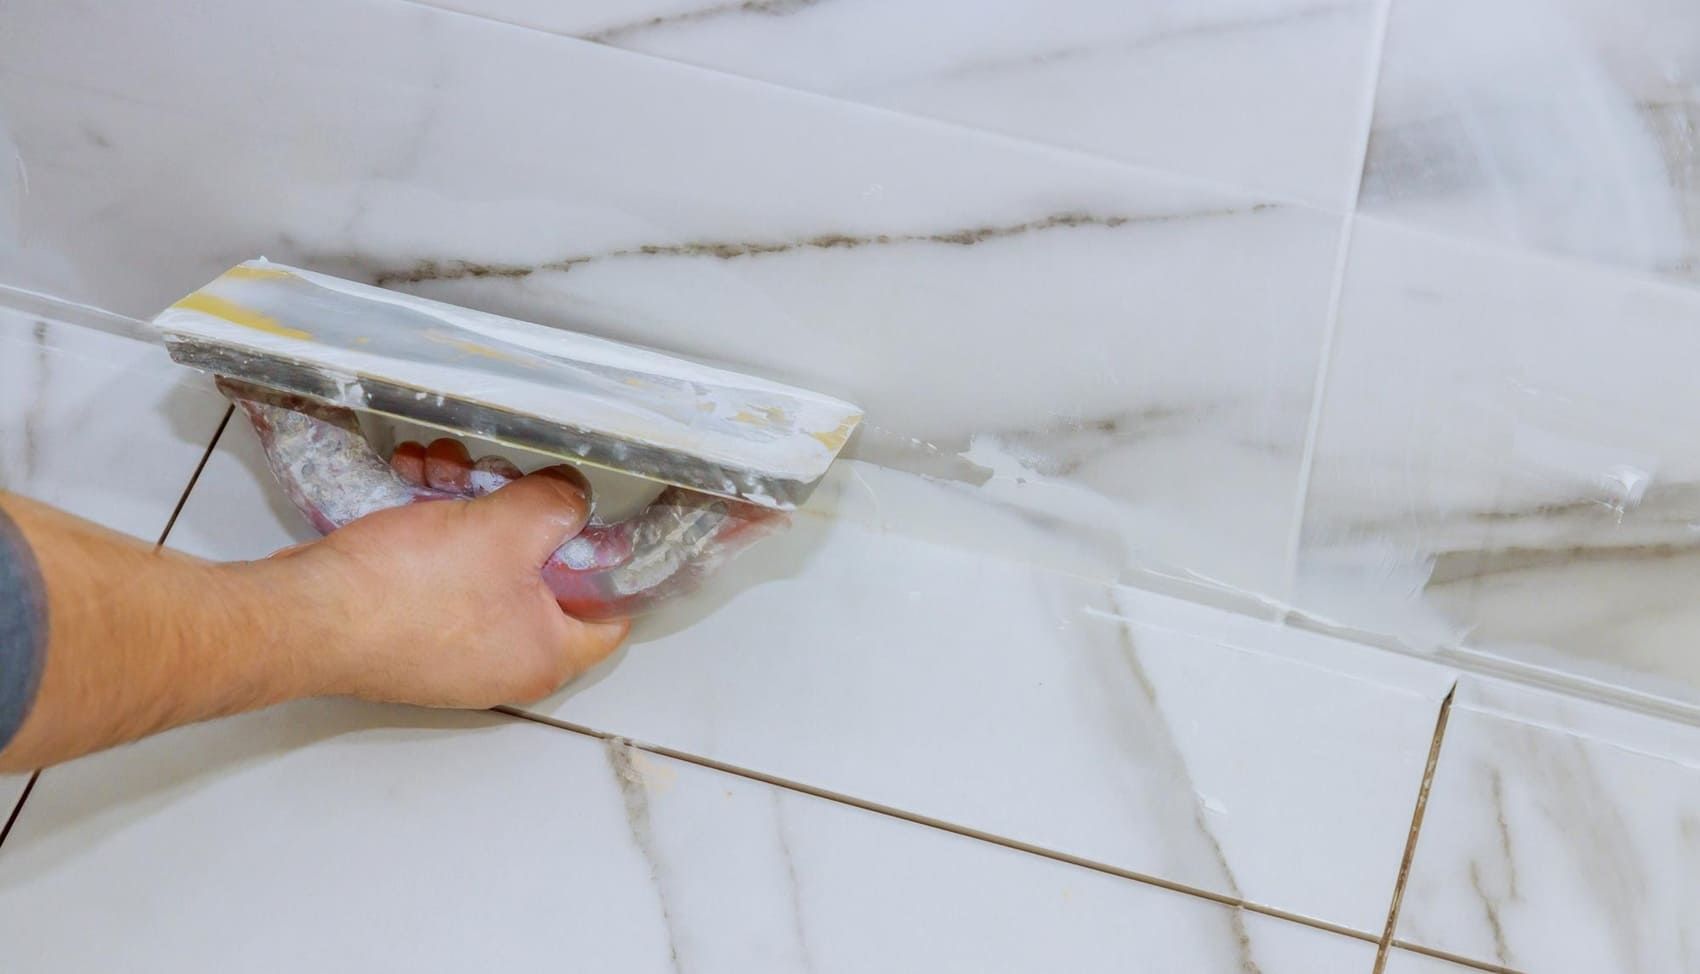
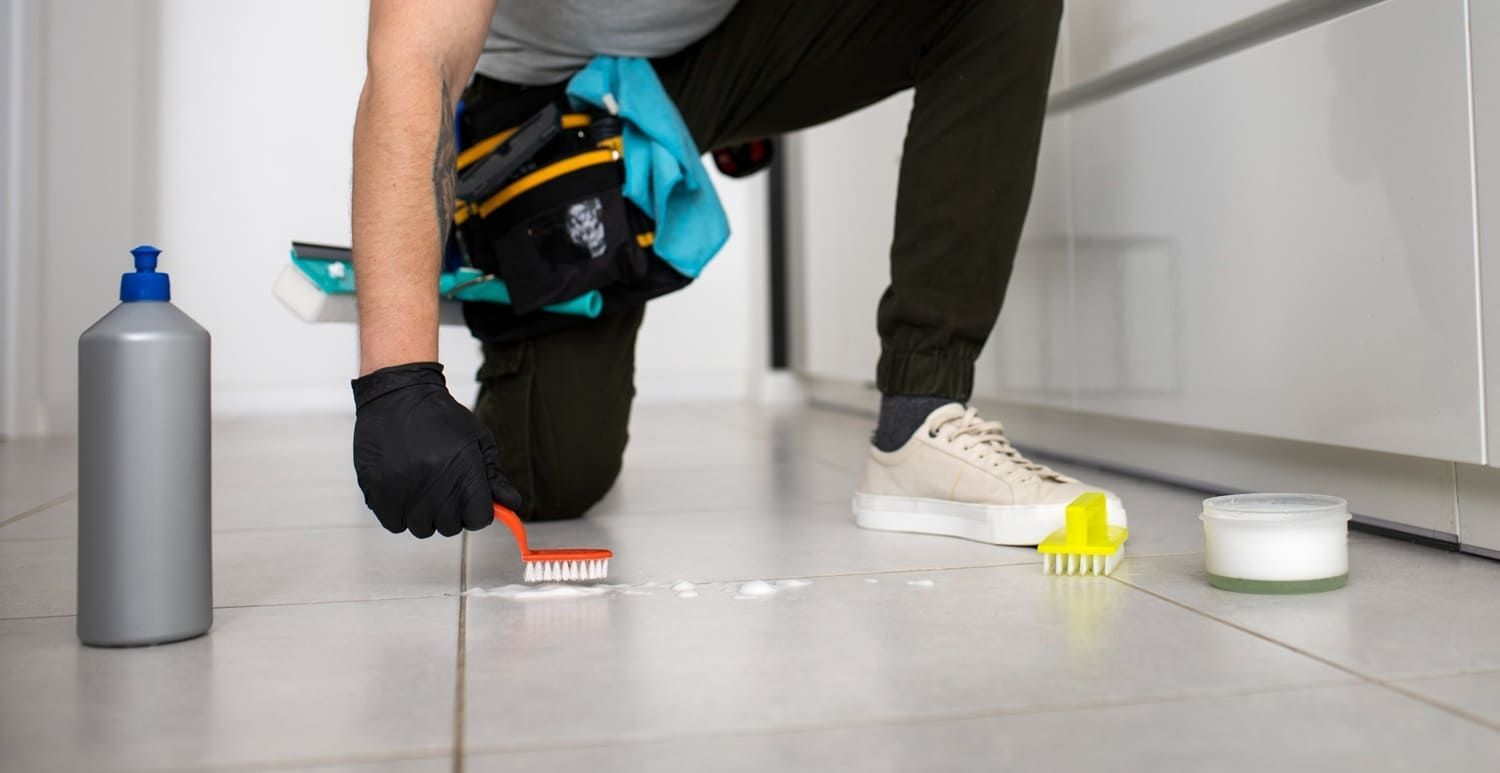
Step 4: Clean and Seal the Grout
After the grout has set, it's time to clean the tiles. Dampen a sponge or cloth and wipe away the excess grout from the surface. Rinse the sponge frequently to avoid spreading grout residue.
Once the tiles are clean and dry, you can apply a porcelain sealer. Pour a small amount of sealer into a container and use an applicator brush, roller, or sprayer to evenly apply it onto the tiles. Ensure complete coverage, working in manageable sections.
Allow the sealer to penetrate the surface for the time specified by the manufacturer. Typically, this can range from a few minutes to an hour. During this time, avoid any foot traffic or contact with water to let the sealer fully cure.
Step 5: Final Touches and Maintenance
Once the sealer has dried, inspect the surface for any missed areas or uneven coverage. Touch up those spots with additional sealer, following the same application process.
To maintain the grout and sealed surface, avoid using abrasive cleaners or scrub brushes that could damage the grout or sealer. Instead, use mild cleaners specifically formulated for sealed surfaces. Regularly clean the area with a soft cloth or sponge and mild detergent.
Get Your Hands on the Right Grouting Tools for the Job
In your DIY journey of grouting and sealing projects, having the right tools and products is crucial. One company that offers quality grouting tools and products is ADVANCED Sealers and Cleaners, based in Phoenix, AZ. We provide a wide range of reliable and durable tools to help you achieve professional results in your home projects.
For top-notch grouting tools and products, visit our products page to explore their selection, including grout and concealer products. Whether you need grout floats, sponges, applicators, or high-quality sealers, we have you covered.